/image%2F0703241%2F20140120%2Fob_b8b3b5_blog-header-new2.jpg "nail art - reviews - swatches - nail tutorials")
*PR sample
Hello lovelies,
Today I want to show you my new photo set up and it's a goodie! It's been five years since I've been taking pictures of my nails and started this blog and I've always been looking to improve my photos and my photography set up. I've gone through so many different set ups over the years from plain black cloth next to a window, diy light box to photo tent. Unfortunately none of these options seemed good enough and I've always fiddled with the lights, the background and the whole set up. That's why I started to look for something even better. I came across MyStudio photo set ups for product photography and I was captivated! I reached out to the owner and he was happy for me to review this kit for him. This is how it looks like in the official photos (courtesy of the company):


This particular set up is MyStudio MS20 Professional Tabletop Photo Studio Kit containing:
- 20 x 20 x 12-inch seamless cyclorama infinity background
- 15W, 5000K "daylight" color-corrected fluorescent bulb
- 3 light reflectors - one overhead "ceiling" reflector and two 9" x 12" side bounce cards
- Stand for the bulb and overhead reflector
It is recommended that two people assemble this kit and I agree. It would be possible to do in one person but it is so much easier if you can get someone to help. There is a sheet with instruction and a DVD to help you with the assembly. The sheet with instructions wasn't very clear but watching the video assembly helped a lot and it was quite easy after that.
The construction for the light and overhead reflector is made of sturdy metal although once assembled it moves a bit when it's shuffled around. Not a major problem though. I have newer design of the legs than in the photos but it doesn't change the function and you might notice I've put the inside, not outside - that's because I wouldn't have enough space as you'll see later. There are also two side bounce cards which I feel helped when photographing objects but I don't use them when taking photos of my hand.
I've left the best for the last - the infinity background. It is a one piece of hard plastic and it is so great! I've always struggled with getting that seamless background and I don't have to worry now. I was surprised how large it is but once I started to use it it felt well-sized for smaller object photography and for my hands.
I have a very little space at the moment so my set up lives in a corner. Here is how my photo set looks:


This particular photo was taken with additional light source at the top right corner
Before you say anything - yeah, I know, I put the light bar upside down!
As you can see, it is absolutely perfect for product photography which I appreciate when taking bottle shots or collection shots. Sometimes the background looks more grey than white but a small editing can change that. As for the hand and nail shots it works really well for me. The only things that are slight drawbacks are the light which I don't think one bulb is strong enough so I'm helping myself with another lamp I already owned (I was recommended to "adjust the exposure by shooting in Manual mode" to solve my problem). The second drawback for me is that when I take hand pictures I take them at the very edge of the infinity background because of my space restrictions which causes grey-ish background instead of nice white but the hand it perfectly lit. I know I will never achieve bright white background unless I'll have backlit set up but it doesn't bother me very much. You can see more examples of hand pictures/swatches taken in this set up here and here.
MyStudio MS20 is available to purchase on Amazon and it's offered with a discount right now for $179. If you are able to invest in your photo set up then I am happy to recommend this one, I really like it, especially the infinity background (but I'm just repeating myself!). There are additional Accent Lights available to purchase as well here.
TIP: Even if you are not interested in purchasing this kit, check out the product page anyway for videos with useful photography tips (the creator of this kit is a photographer ;).
I hope I've shown you something new to you and that you've enjoyed today' review. Have a lovely day everyone! Lucie x
/image%2F0703241%2F20150720%2Fob_4b03e9_ditsy-floral-nail-art-design-2.jpg) A Nail Art Book NOT To Be Missed! Nail It! by The Illustrated...
A Nail Art Book NOT To Be Missed! Nail It! by The Illustrated.../image%2F0703241%2F20150720%2Fob_a956c8_monthly-favourites-1.jpg) The Very Late Monthly Favourites Post :)
The Very Late Monthly Favourites Post :)/image%2F0703241%2F20150508%2Fob_93b2a8_nature-s-time-watch-9.jpg) Review: Nature's Time Wood & Steel Watch
Review: Nature's Time Wood & Steel Watch/image%2F0703241%2F20150414%2Fob_42d6f1_wedding-invitations-2.jpg) My Wedding Diary - Part 2: The Wedding Invitations
My Wedding Diary - Part 2: The Wedding Invitations
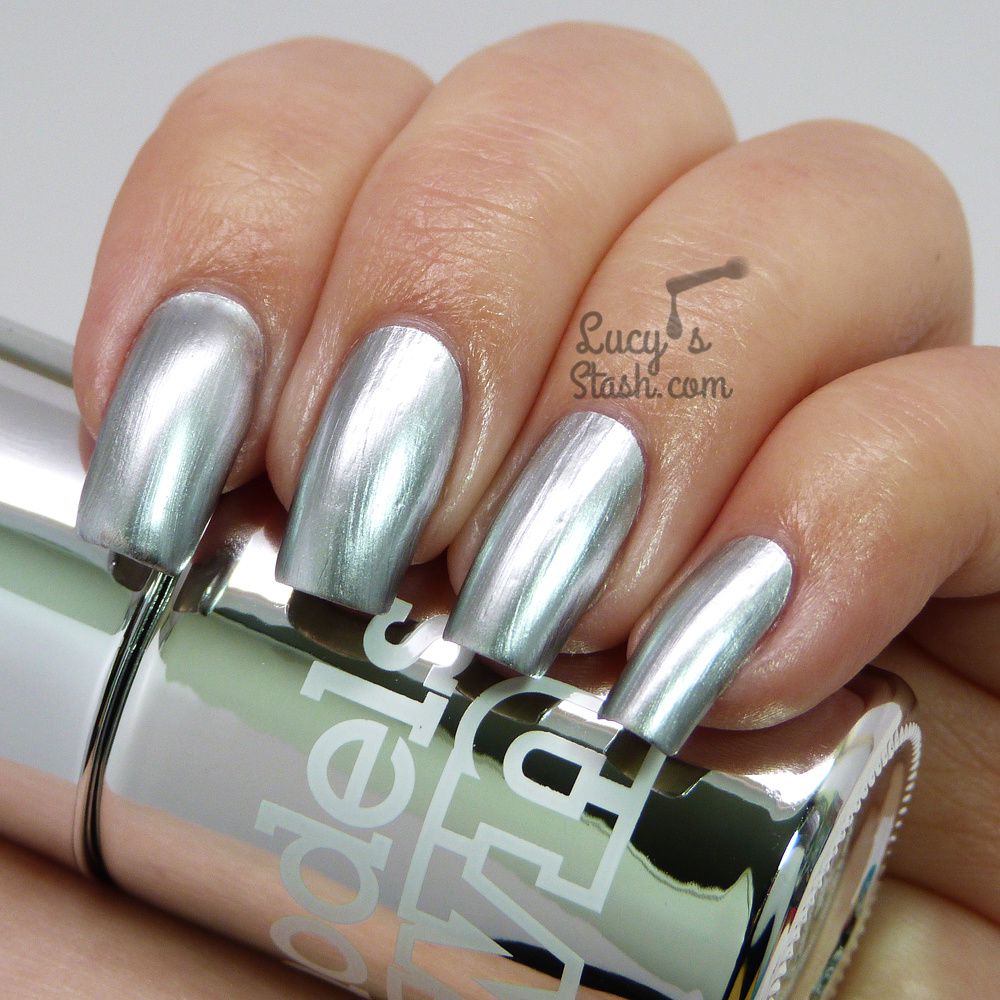


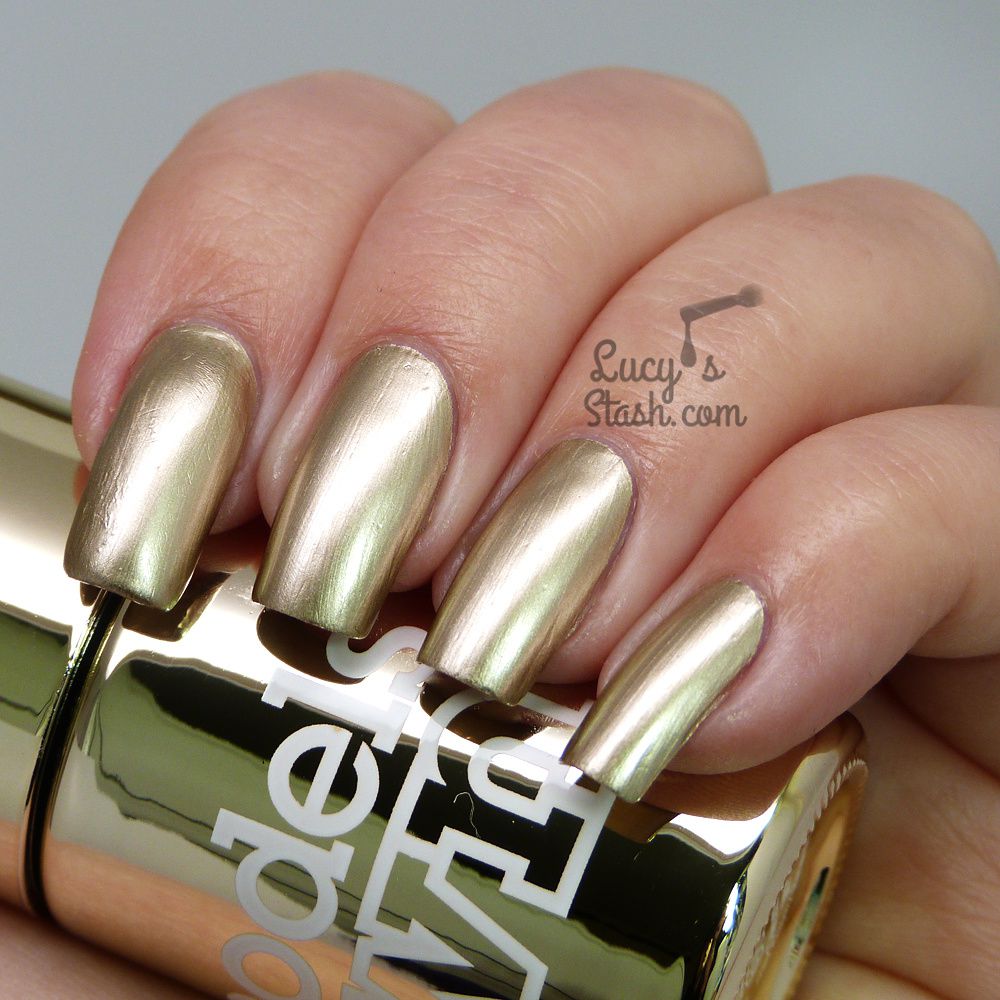


/image%2F0703241%2F20161115%2Fob_4cb34a_models-own-glitterball-collection-11.jpg) Models Own Glitterball Collection & Instagram GIVEAWAY...
Models Own Glitterball Collection & Instagram GIVEAWAY.../image%2F0703241%2F20160828%2Fob_2a36ab_pink-and-bare-minimalist-nail-art-4.jpg) Abstract Nail Art with Models Own Dare to Bare Collection
Abstract Nail Art with Models Own Dare to Bare Collection/image%2F0703241%2F20160726%2Fob_bb99fb_pastel-neon-watermarble-with-mo-soft-p.jpg) ABC Challenge: M is for Marbled Nail Art | Nail Art...
ABC Challenge: M is for Marbled Nail Art | Nail Art.../image%2F0703241%2F20160726%2Fob_5f7bea_neon-yolo-gradient-and-stamping-2.jpg) Paint All The Nails Presents Neon Nail Art
Paint All The Nails Presents Neon Nail Art