/image%2F0703241%2F20140120%2Fob_b8b3b5_blog-header-new2.jpg "nail art - reviews - swatches - nail tutorials")
Hello lovelies,
Today is the third day of the Nail Art Fashion Week and we take inspiration from bags, handbags and clutches. There haven't been many bags that caught my eye but I finally found one that inspired me! It is from a London-based designer Orla Kiely and her collection called Orla La which introduced a collection that looked very retro to me. It features patterns and colour combinations that I found very different from what the other designers introduced.
"Kiely was inspired by British Fifties and Sixties kitchen sink drama; The New Wave; and Northern Soul, the early Seventies British dance movement based on American soul. The designer took her initials and fused them into structured, glossy leather handbags and small leather goods. One structured, boxy bag with a gold chain featured different skins, including polished natural leather, shiny leather and crocodile." Read more about this collection and see all the pictures here.
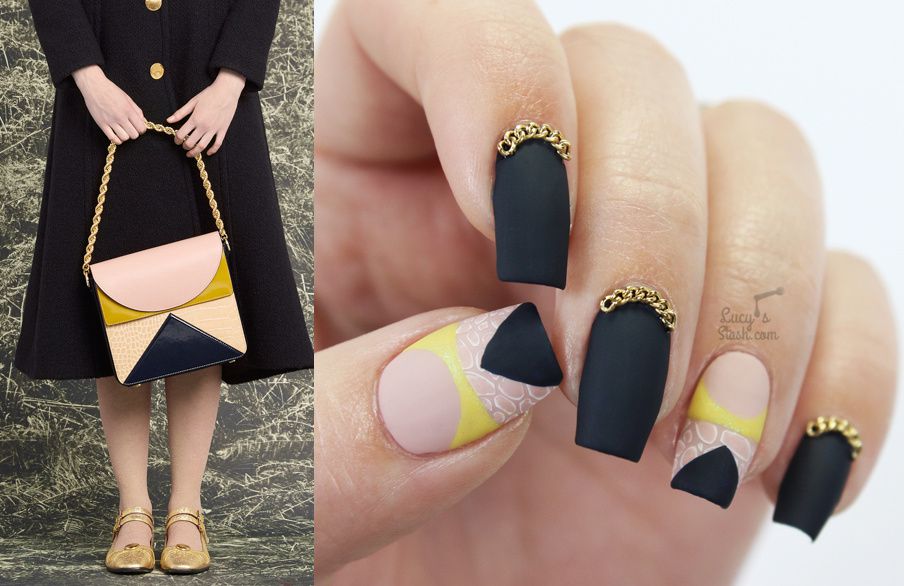

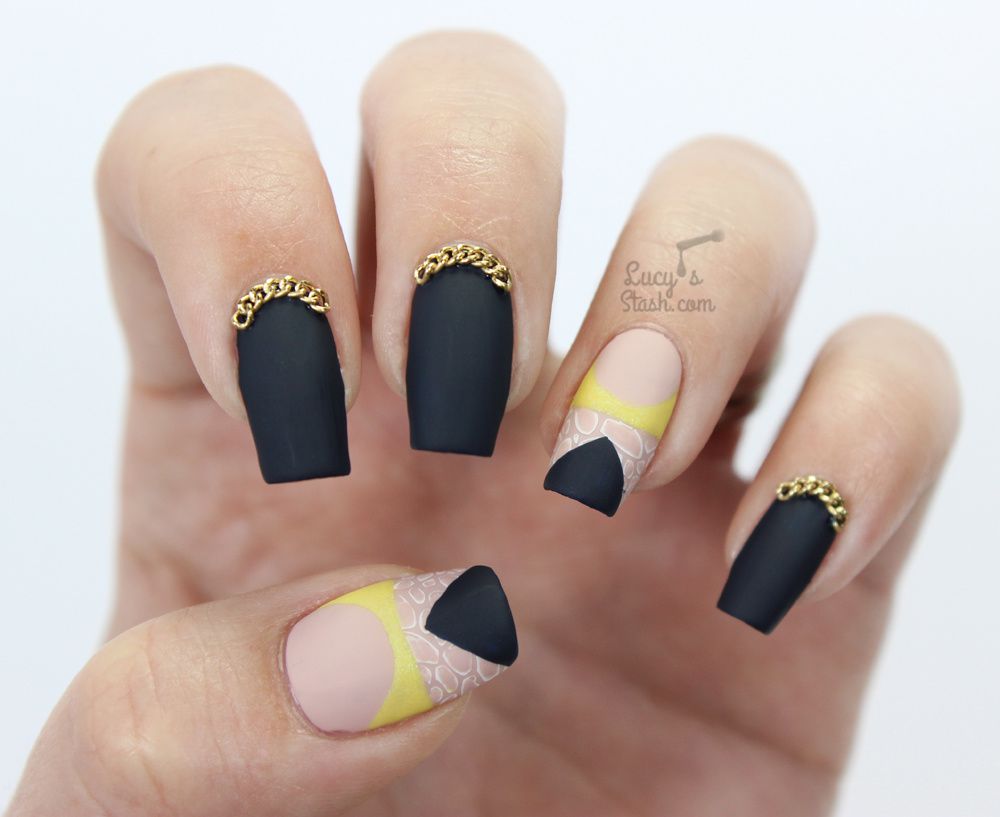
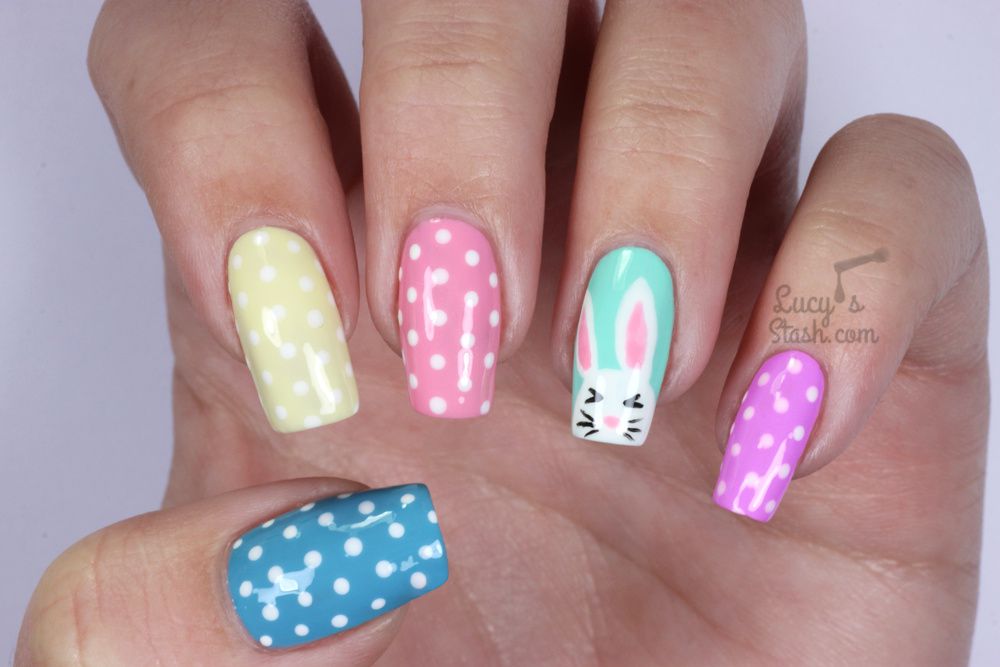
For this nail design I've used OPI Incognito In Sausalito, OPI My Very First Knockwurst, Zoya Daisy, OPI Matte Top Coat, MoYou London PRO collection 03 stamping plate and white stamping polish. And of course I added the gold chain to the remaining nails :)
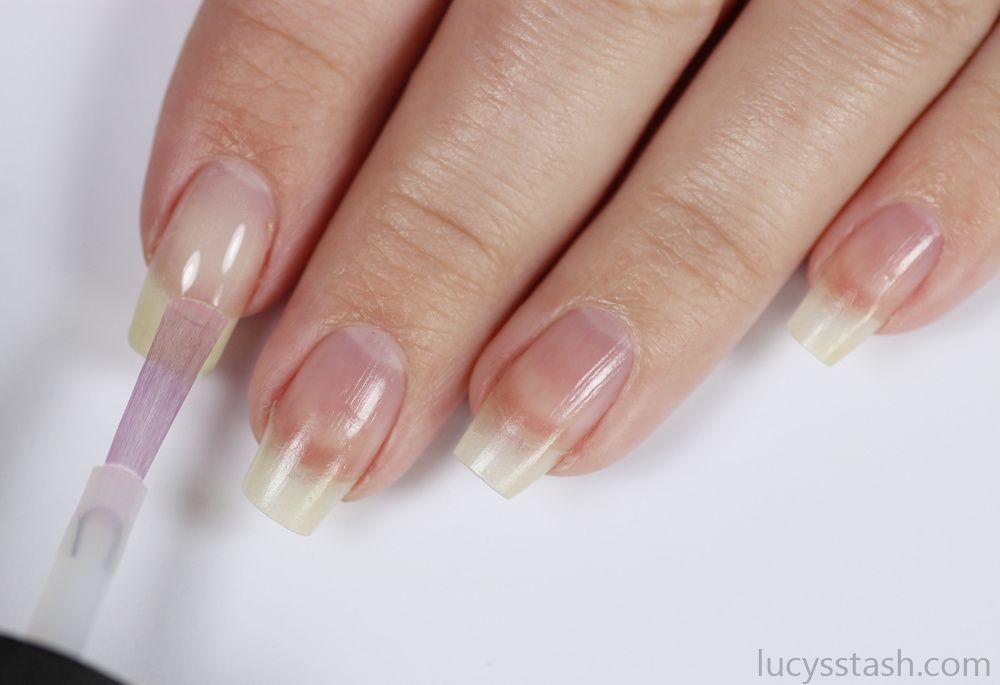
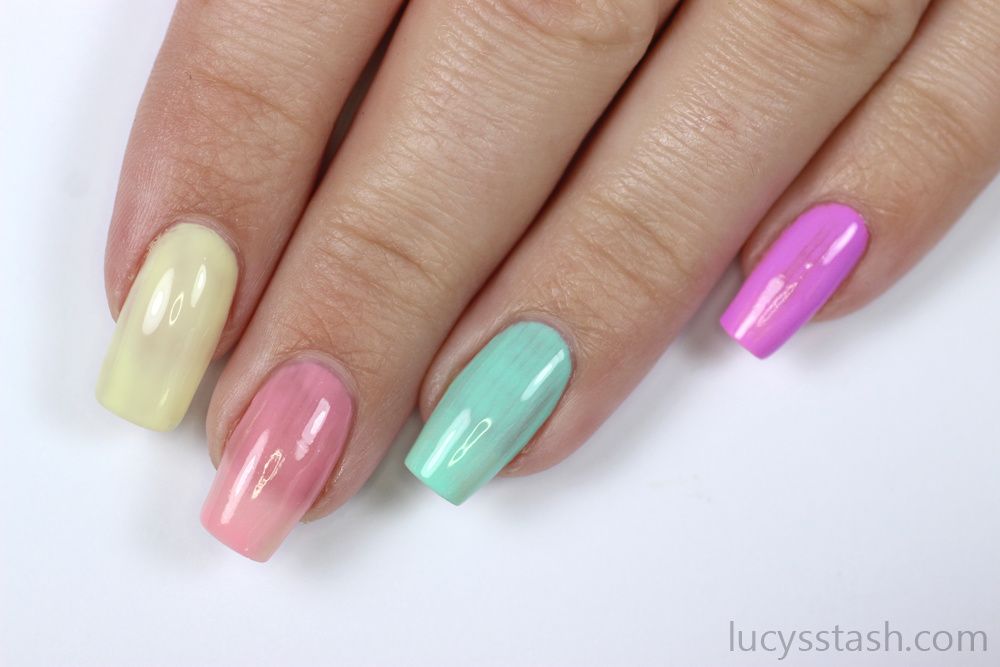
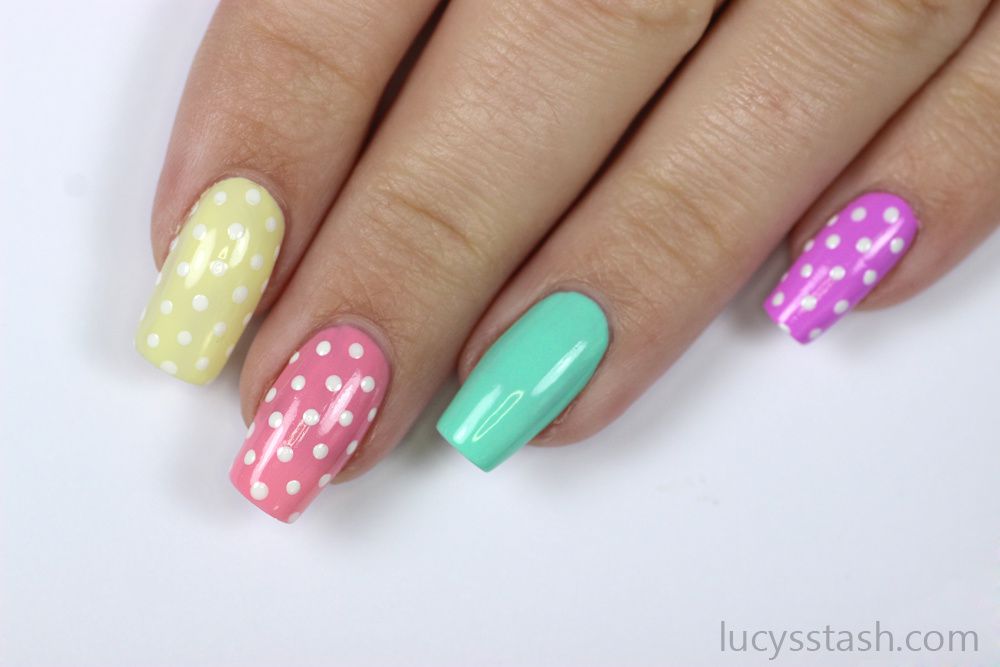
The process was quite complicated and I had to use a nail vinyl, latex barrier, stamping and painting over it so I'm not doing step by step description. But I like how the nails look with the matte top coat but this time I didn't forget to snap a picture of the glossy version! Let's compare the two:


So which version is your favourite? Matte or glossy?
Don't forget to check out manicures from all the other co-hosts: Maria from So Nailicious, Victoria from
Manicurator, Emily from Very Emily and Anja from Lieve91.
You can follow the challenge and see all the manicures created each day by checking out the #NAFW2016 hashtag on Instagram and Twitter. We will be reposting our favourites on our Instagram accounts so join the challenge, create some amazing looks as suggested by the schedule, include and maybe you'll be the one featured on my IG account! If you'd like to know more, check out the announcement post with all details and how to join!
Have a lovely day! Lucie x
/image%2F0703241%2F20201222%2Fob_7b3a98_semilac-my-love-gel-polish-nails-4.jpg) My Snowflake Nails for Christmas 2020 with Semilac...
My Snowflake Nails for Christmas 2020 with Semilac.../image%2F0703241%2F20200814%2Fob_22ce10_lart-supreme-kit-29-2.jpg) REVIEW: LART Supreme Mineral Powder Dipping System...
REVIEW: LART Supreme Mineral Powder Dipping System.../image%2F0703241%2F20170429%2Fob_799087_gilded-marbled-amethyst-nails-6.jpg) Dress your nails to impress with this marbled amethyst...
Dress your nails to impress with this marbled amethyst.../image%2F0703241%2F20170727%2Fob_3240b9_pink-gold-dry-brush-nail-art-4.jpg) The Manicure That (I) Rocked The Scratch Stars Awards...
The Manicure That (I) Rocked The Scratch Stars Awards...