Showing posts with label tutorials

Hello lovelies,


I've promised you two tutorials in the previous post and here's the second one! I have partnered up with

JustMyLook.co.uk to inspire you to do some cool Easter nail art :) This tutorial is little bit advanced but with a bit of practice I'm sure you can do it too!


Today's tutorial has been inspired by multiple Easter manicures that I kept seeing over the years  like Polish Is The New Black and Paulina's Passions. I took different inspirations and put them together to create today's nails.


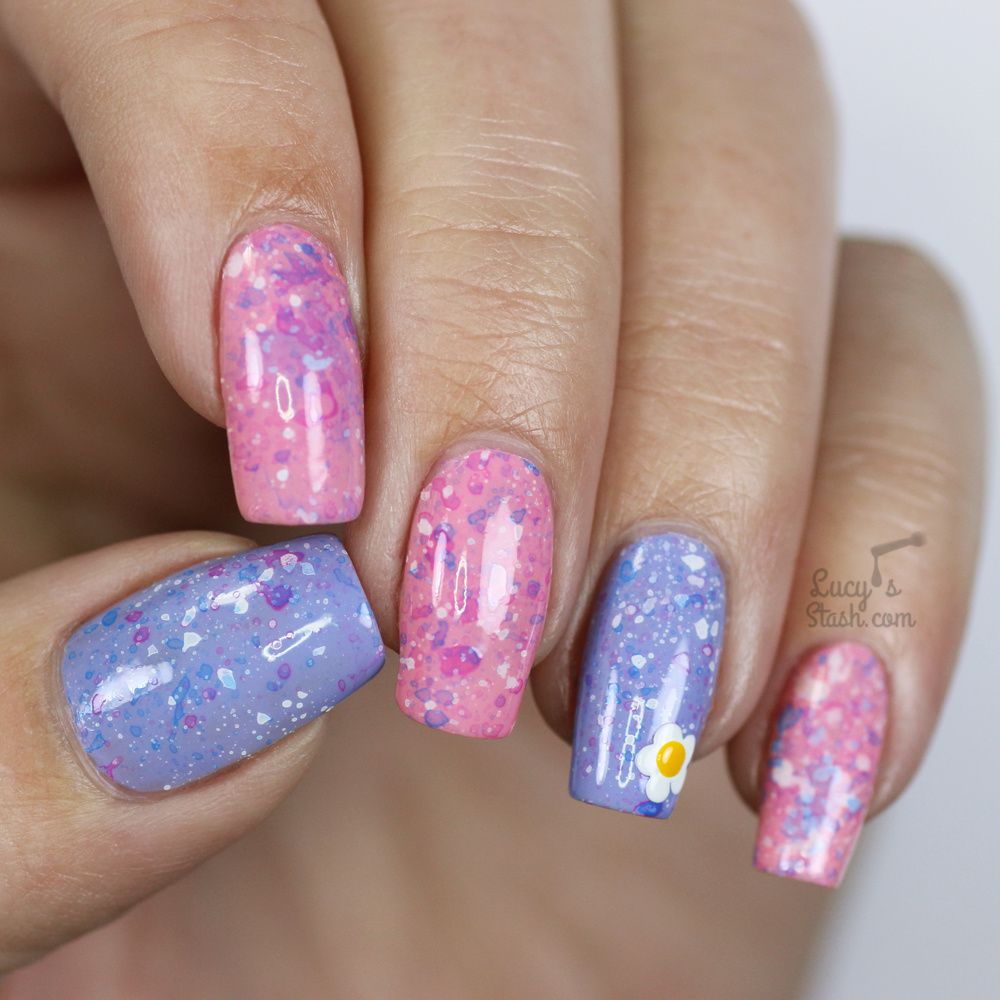
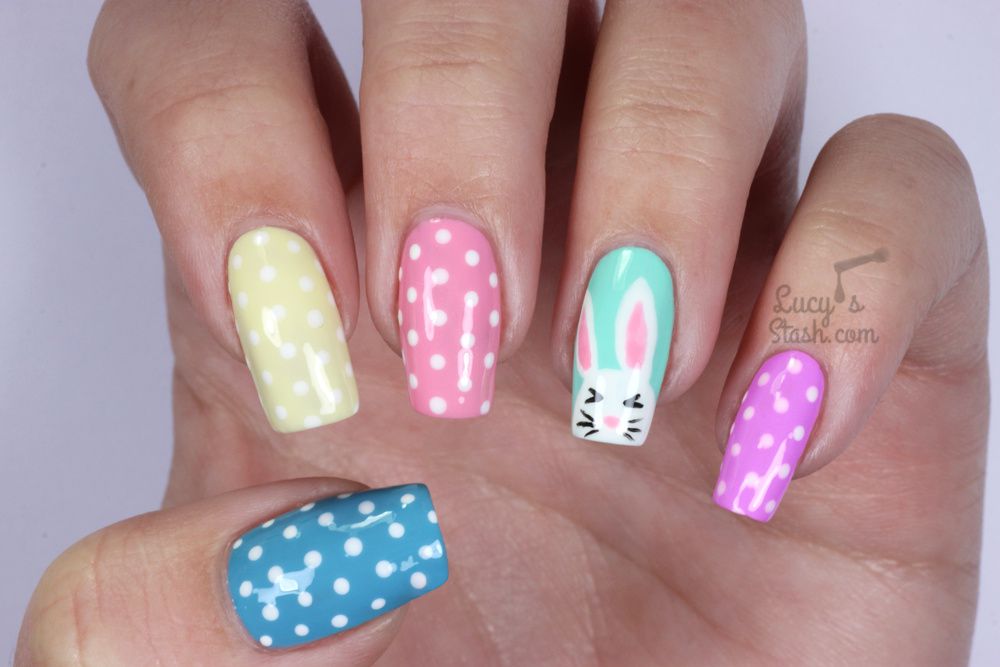
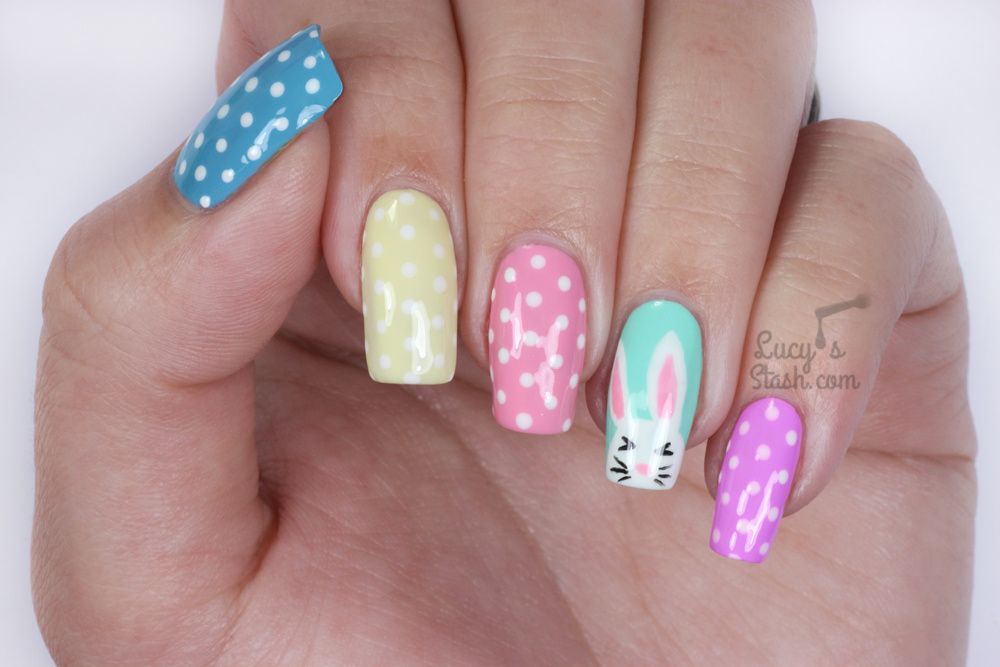
Here's the look and a step by step tutorial for you:


Easter Bunny & Polka Dots Nails | Advanced TUTORIAL


Step 1 – Apply a base coat. I’m using OPI Natural Nail Base Coat

Easter Bunny & Polka Dots Nails | Advanced TUTORIAL


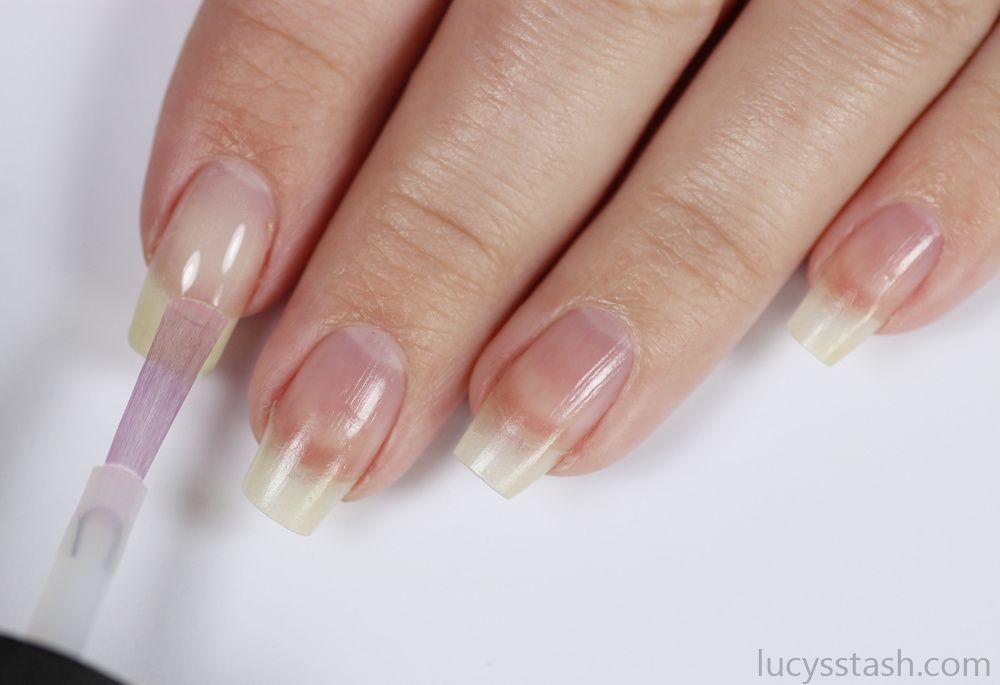
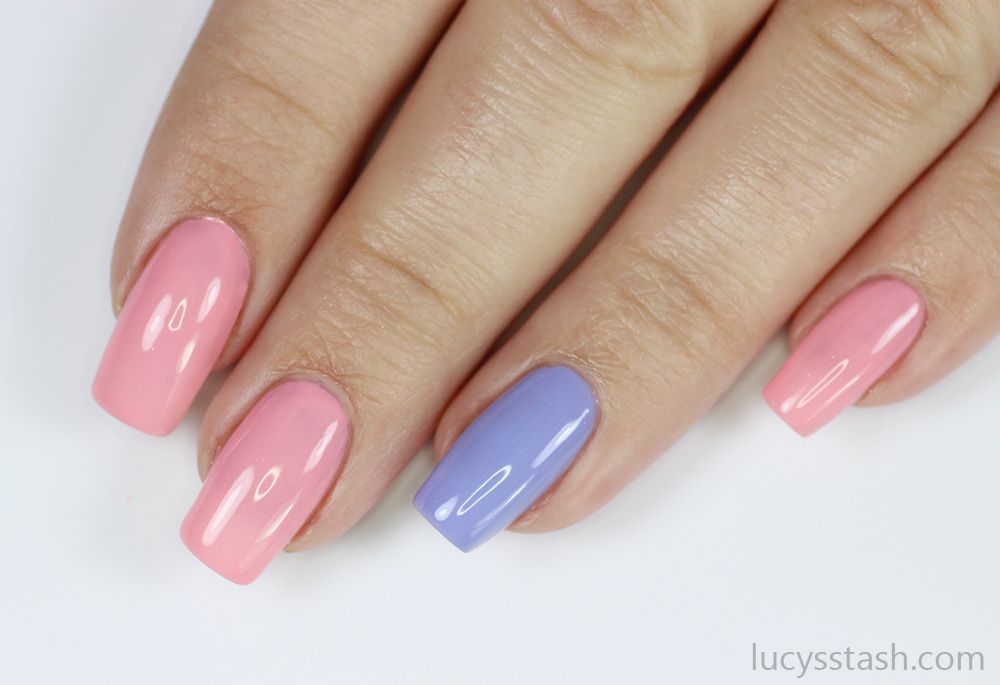
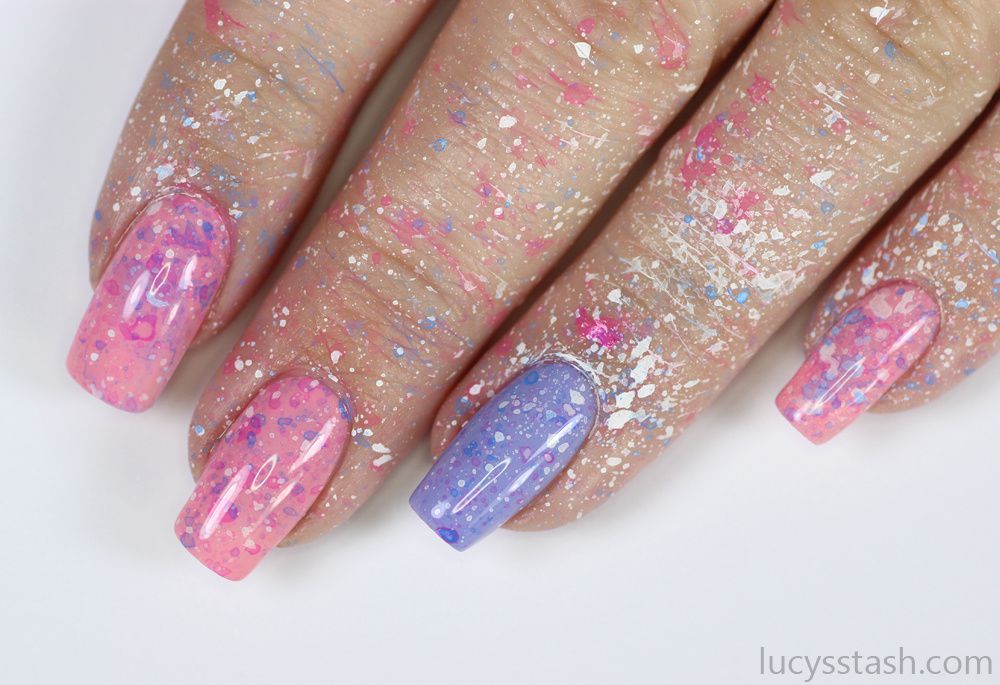
Step 2 – Apply first coat of nail polish, each nail in different pastel colour. I’ve usedthe following polishes:


  • OPI Can’t Find My Czechbook
  • Models Own Banana Split (alternative at JustMyLook.co.uk Nails Inc Seven Dials Gel Effect)
  • OPI Pink-Ing Of You
  • Models Own Mint Icing (alternative at JustMyLook.co.uk OPI Gargantuan Green Grape)
  • Models Own Lilac Icing (alternative at JustMyLook.co.uk CND Vinylux Cake Pop).
Easter Bunny & Polka Dots Nails | Advanced TUTORIAL


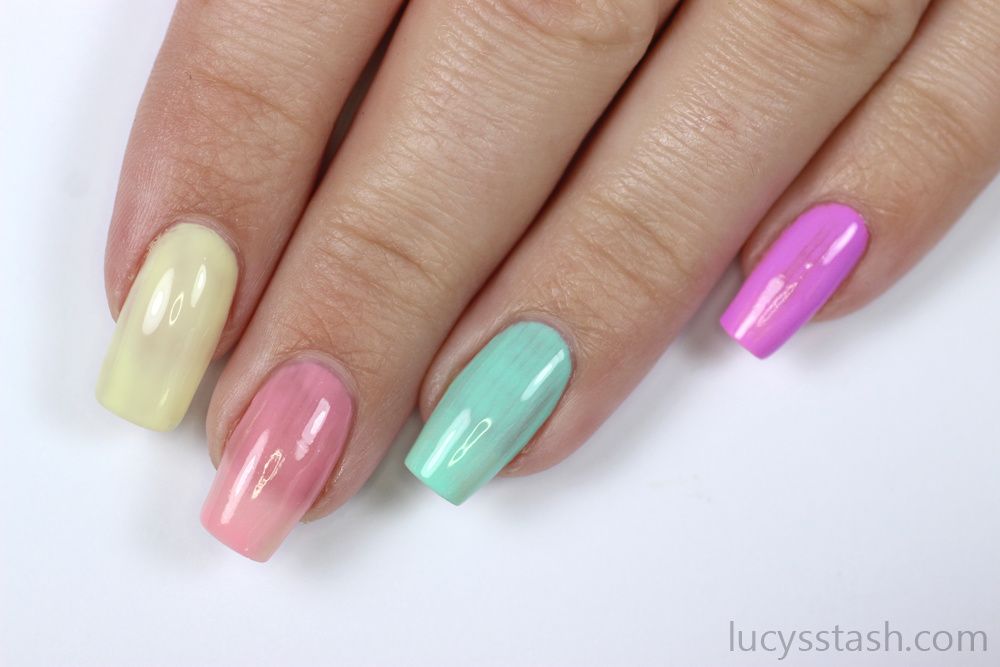
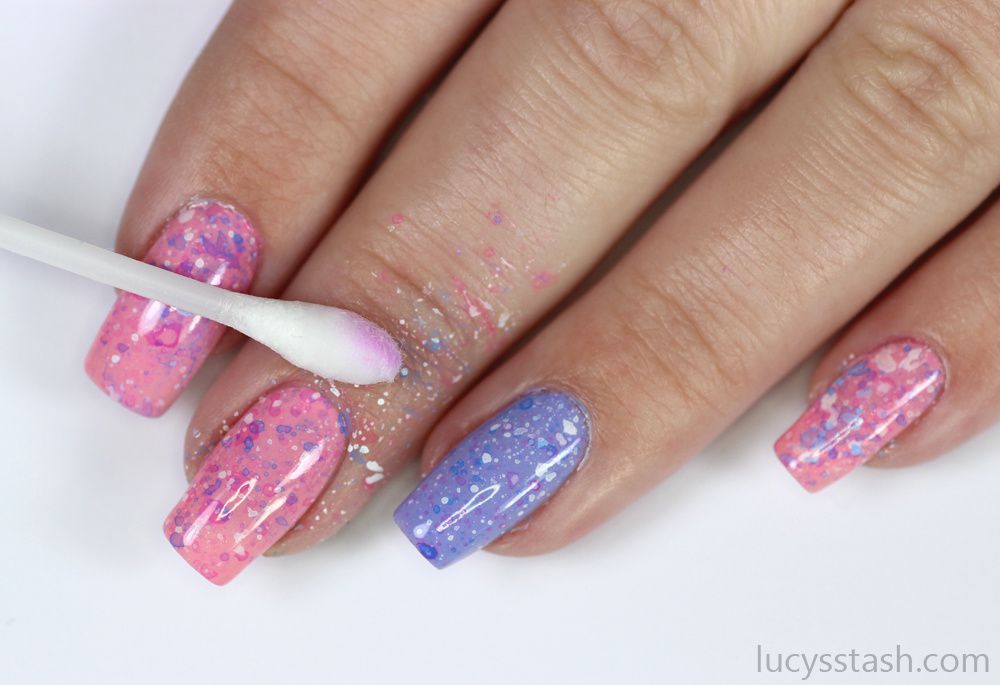
Step 3 – Apply second coat of nail polish to each nail

Easter Bunny & Polka Dots Nails | Advanced TUTORIAL


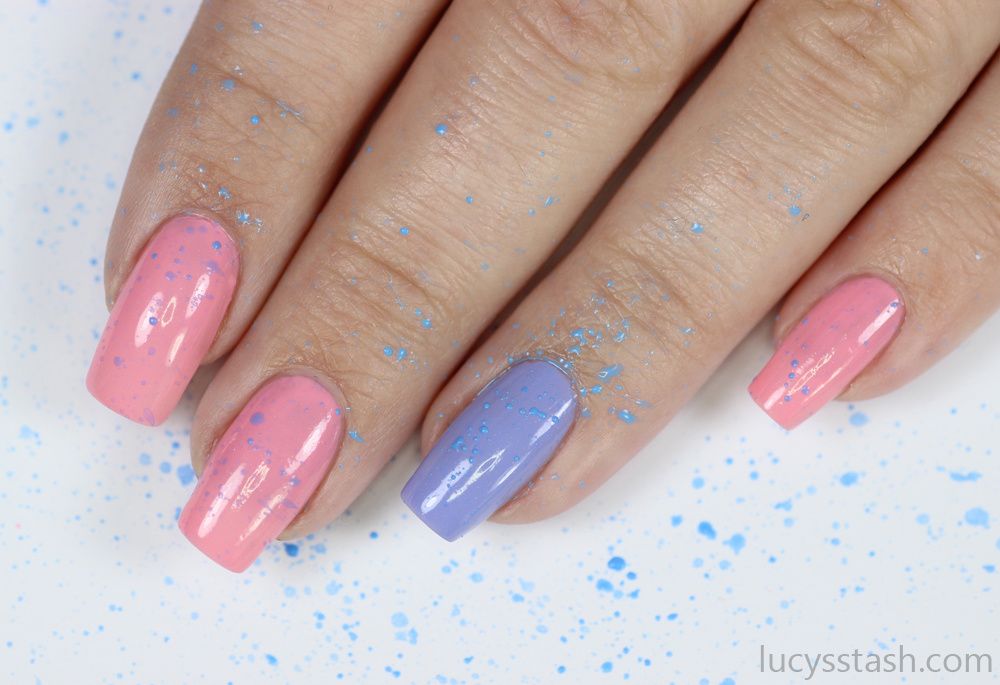
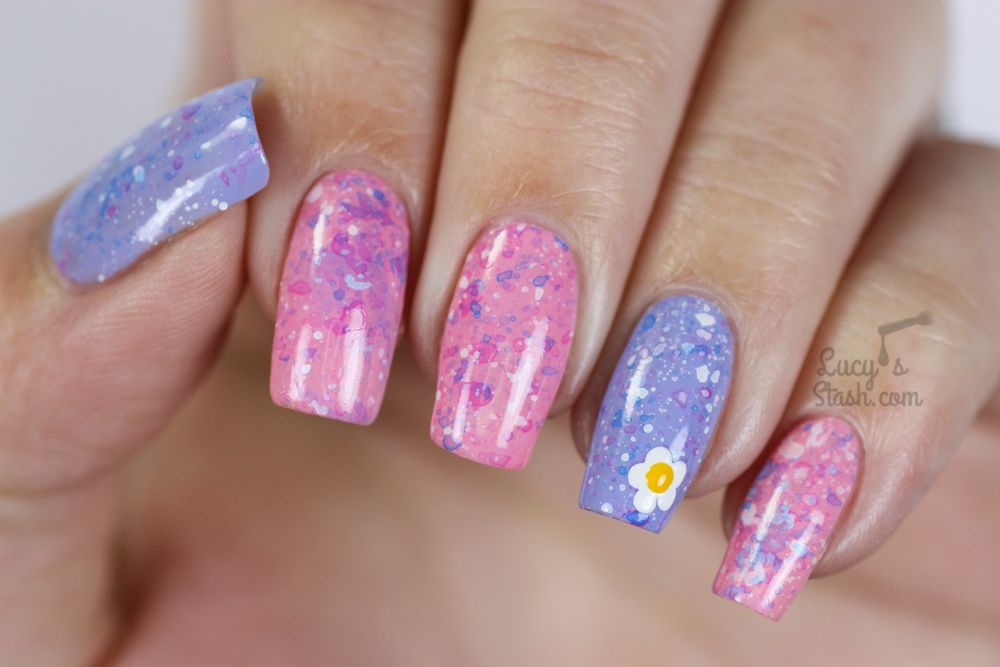
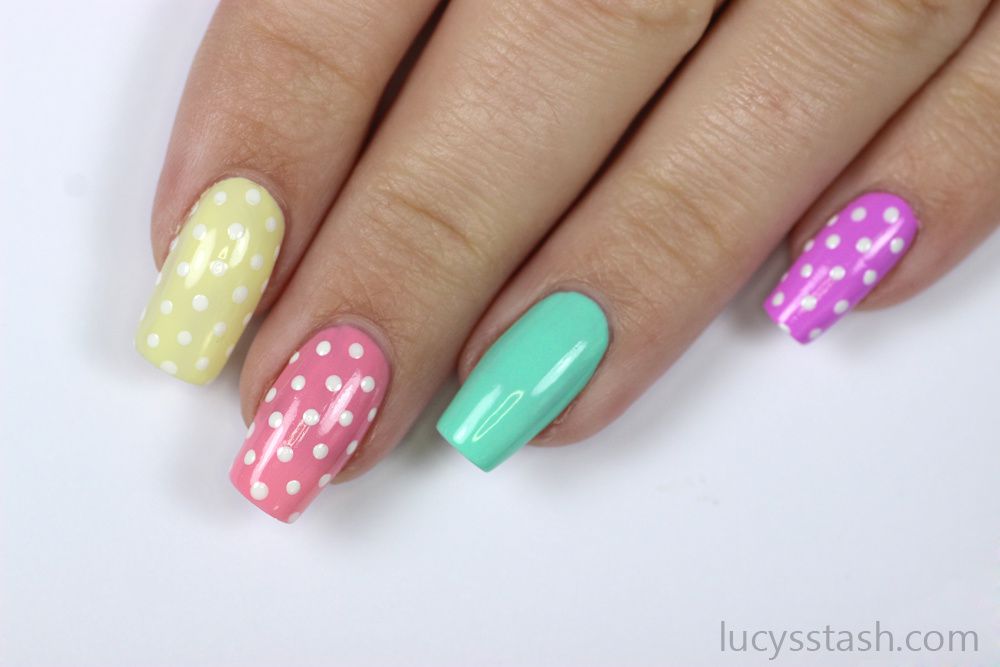
Step 4 – Add white polka dots to all nails except the ring finger. I’m using a small dotting tool and OPI Alpine Snow. If you don’t have a dotting to you can use bobby pin or a pin with round head stuck in a pencil.

Easter Bunny & Polka Dots Nails | Advanced TUTORIAL


Step 5 – It's time to paint the Easter bunny. Paint a half circle near the edge of the nail using the nail polish brush in the bottle or a smaller nail art brush. I’m using OPI Alpine Snow again.

Easter Bunny & Polka Dots Nails | Advanced TUTORIAL


Step 6 – Use a thin nail art brush and paint two ears with white polish

Easter Bunny & Polka Dots Nails | Advanced TUTORIAL


Step 7 – Now add a pink middle to both ears with a nail art brush and OPI Pink-Ing Of You

Easter Bunny & Polka Dots Nails | Advanced TUTORIAL


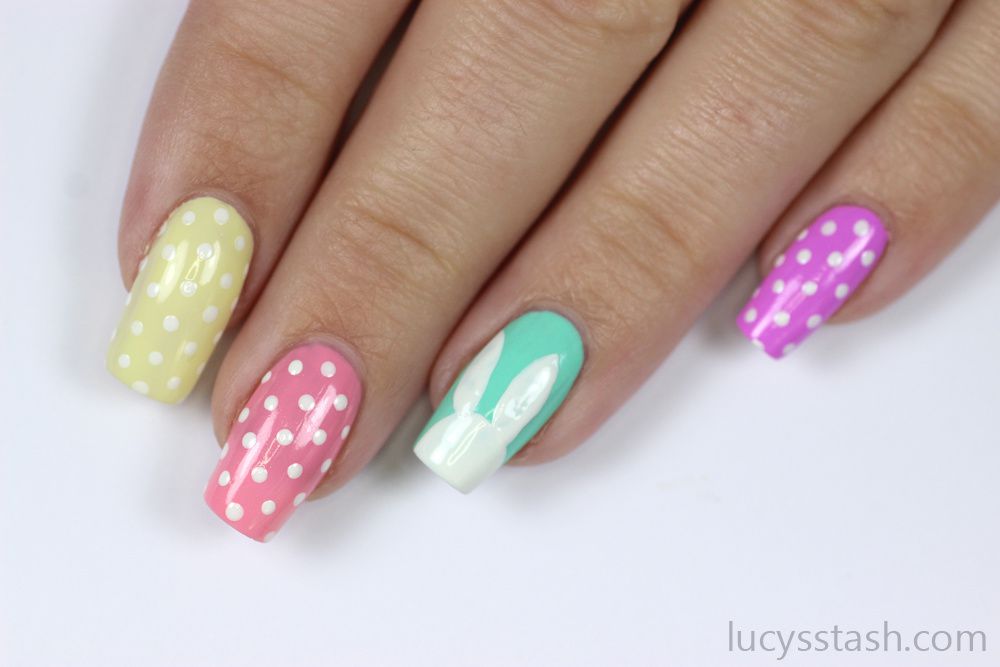
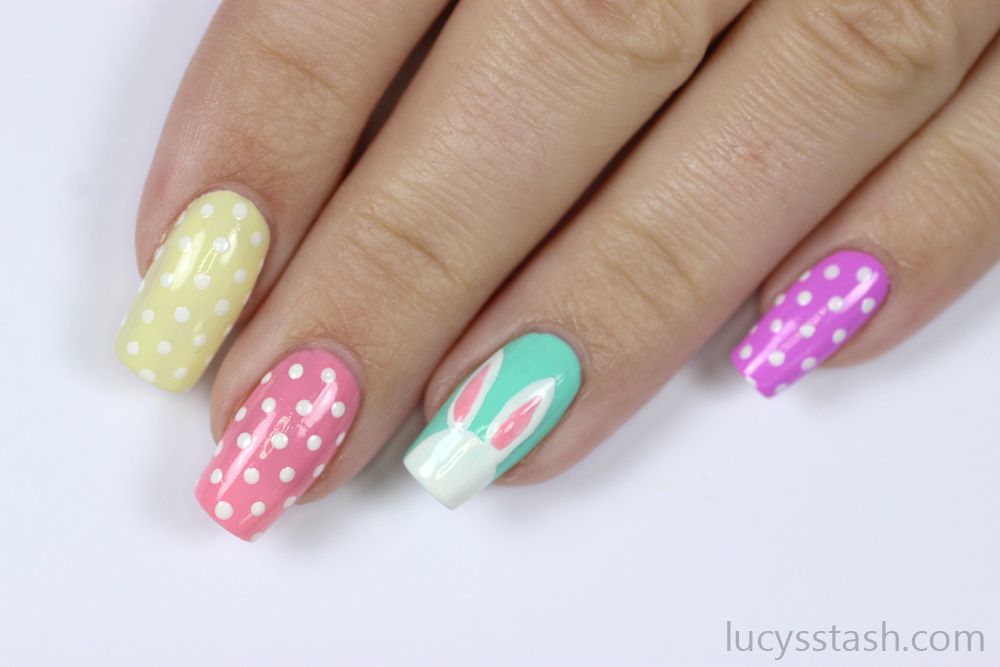
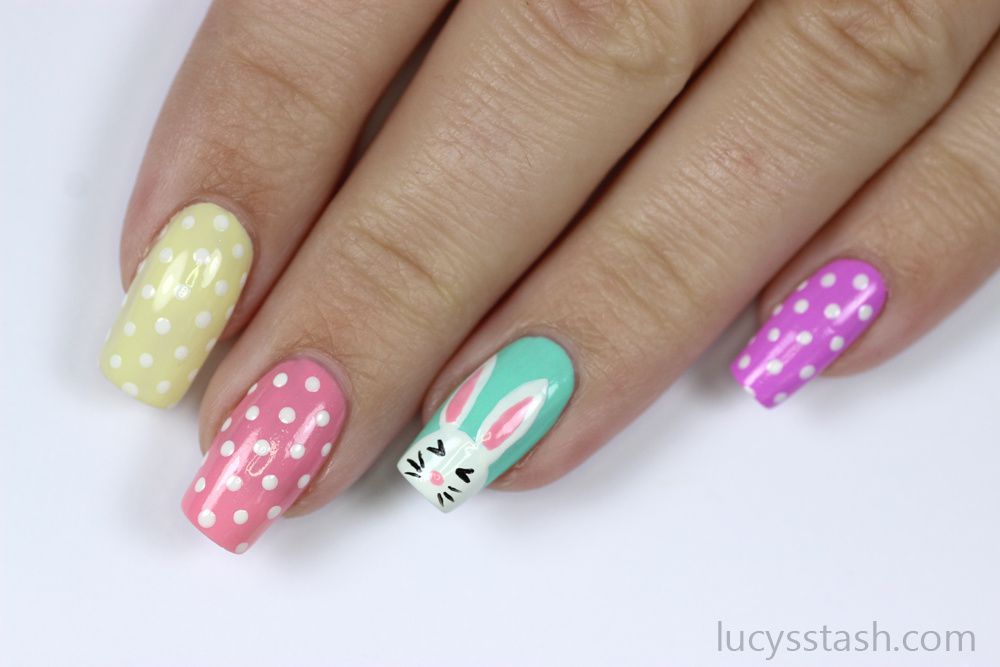
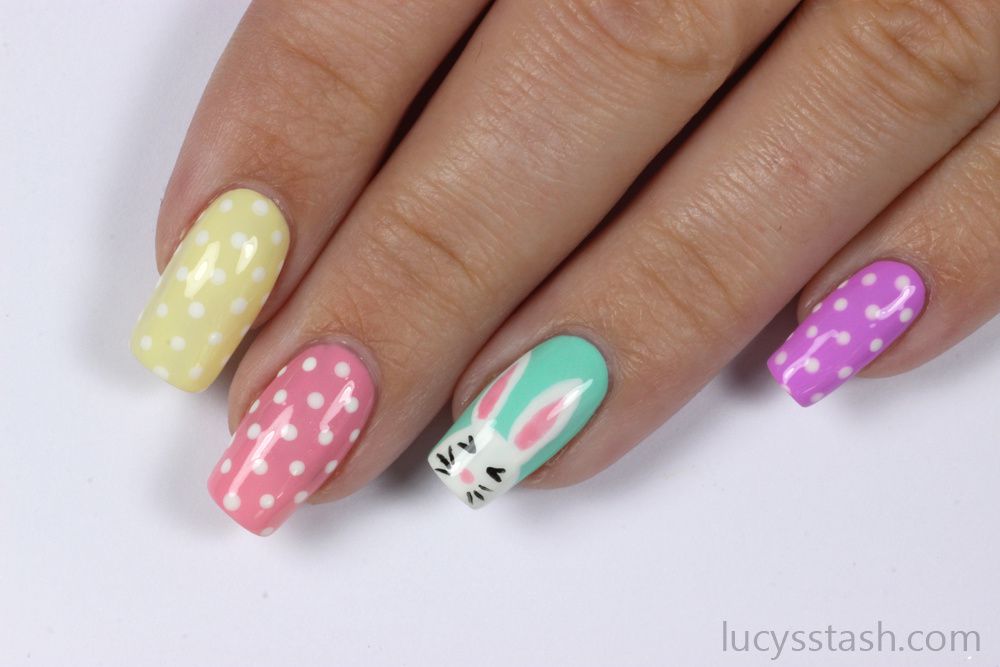
Step 8 – Draw two eyes with black nail polish and thin nail art brush. Alternatively paint two black dots as eyes instead if you prefer that look

Easter Bunny & Polka Dots Nails | Advanced TUTORIAL


Step 9 – Add a small pink dot as a nose with OPI Pink-Ing Of You and dotting tool

Easter Bunny & Polka Dots Nails | Advanced TUTORIAL


Step 10 – Paint whiskers with black nail polish and thin nail art brush

Easter Bunny & Polka Dots Nails | Advanced TUTORIAL


Step 11 – Seal the nails with a coat of topcoat. I’m using OPI Top Coat. It helps to have a nice little drop at the end of the brush and float it just above the nail so you don't smear your artwork.

Easter Bunny & Polka Dots Nails | Advanced TUTORIAL


So there you go, cute Easter bunny nail art tutorial :) Are you planning to do something special on your nails this Easter? If you recreate this look, don't forget to tag me, I'd love to see your creation!


The polishes I've used or similar shades can be found at JustMyLook.co.uk. You can follow their latest offers of nail products on Facebook and Instagram.


Have a lovely day! Lucie x


*PR samples


Hello lovelies,


Sorry for being so quite lately, I'm experiencing a rather nasty flu and I'm still not back to my normal health! I hope you're all fine and happy :)


Easter is just around the corner so it's about time to show you some Spring and Easter-themed nails, right? Well, I have partnered up with JustMyLook.co.uk to bring you two nail art tutorials - one for beginners and the other for advanced nail artists. Today I'll be sharing the beginner tutorial.


The idea was to show you a very easy nail art that anyone could recreate with no nail art tools or tools easily available at home. I've decided to do a splatter manicure in spring colours with a cute little daisy flower on an accent nail. Let's have a look at the final design and how to recreate this playful look:


Spotty Spring Nails | Tutorial for beginners


Step 1 – Apply a base coat on clean, dry nails and let it dry for couple of minutes. I’m using OPI Natural Nail Base Coat

Spotty Spring Nails | Tutorial for beginners


Step 2 – Apply first coat of colour and alternate shades on thumb and ring fingers to create accent nails. I’m using OPI Pink-Ing Of You and OPI You're Such A Budapest.

Spotty Spring Nails | Tutorial for beginners


Step 3 – Apply second coat of nail polish.

Optional: if you have a liquid latex barrier, apply it around your nails and on fingers for easy clean up


Spotty Spring Nails | Tutorial for beginners


Step 4 – Mix a drop of blue acrylic paint with a bit of water. It doesn't really matter which brand of acrylic paint you use, just make sure you mix the water and paint properly.


Here I'm using Bliss Kiss Simply Neat Miracle Mat that has these 'Create & Contain Circles' ideal for mixing paints and liquids. If you don't have this mat you can mix your paint and water in a cup, dish, bowl, dappen dish, lid etc.

Spotty Spring Nails | Tutorial for beginners


Step 5 – Dip a toothbrush into the watered-down acrylic paint and saturate the bristles

Spotty Spring Nails | Tutorial for beginners


Step 6 – Hold the toothbrush above your nails and flick the bristles with you thumb. This should spray small drops of paint on the nails. Repeat as many times as you need until you're happy with the amount of paint drops

Spotty Spring Nails | Tutorial for beginners


Step 7 – Repeat steps 4-6 with purple acrylic paint

Spotty Spring Nails | Tutorial for beginners


Step 7 – Repeat steps 4-6 with white acrylic paints until you’re happy with the colour splashes

Spotty Spring Nails | Tutorial for beginners


Step 8 – Apply a coat of topcoat. I'm using OPI Top Coat. This step is somewhat optional. You can proceed to step 10 if you want to add the daisy flower or you can apply topcoat and finish with the design now.

Spotty Spring Nails | Tutorial for beginners


Step 9 – Clean your skin with cotton pad and cotton buds moistened with water. Alternatively, wait till your manicure is completely dry (give it at least 1 hour) and then gently wash off the acrylic paint with soap and water

Spotty Spring Nails | Tutorial for beginners


Step 10 – If you want to add an accent flower, paint five dots in a circle with white nail polish. I’m using OPI Alpine Snow. To create perfect dots without a dotting tool, use a bobby pin or a pin with round head stuck in a pencil

Spotty Spring Nails | Tutorial for beginners


Step 11 – Fill in the space in the middle of the flower with another white dot. Let it dry for few minutes

Spotty Spring Nails | Tutorial for beginners


Step 12 – Add a yellow dot to the centre of the flower. I’ve used OPI The It Colour. Apply final coat of topcoat to seal the design. I’m using OPI Top Coat.

Spotty Spring Nails | Tutorial for beginners


What do you think? Pretty easy to do, eh? The mess might look like a lot but don't let that stop you. You can easily protect your skin with latex barrier like Bliss Kiss Simply Peel or Bundle Monster Poli-Peel or you can easily wash off the splatter later with warm water and soap.


All the nail polishes I've used are available at JustMyLook.co.uk and the rest around your house ;) If you recreate this look, don't forget to tag me, I'd love to see your creations!


Have a lovely day! Lucie x


*PR samples