/image%2F0703241%2F20140120%2Fob_b8b3b5_blog-header-new2.jpg "nail art - reviews - swatches - nail tutorials")
Hello lovelies, 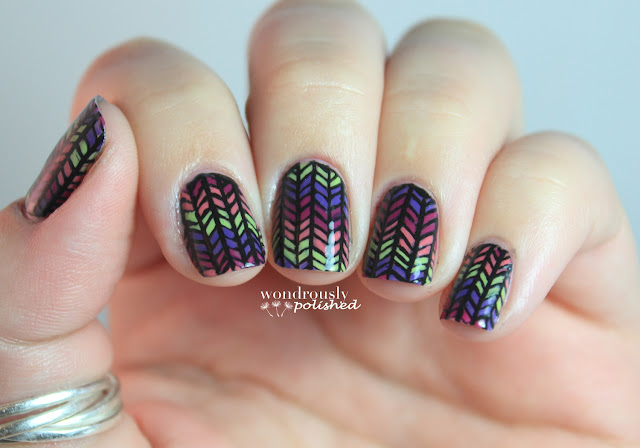
I've got another great guest post here! Today the lovely Lindsey from Wondrously Polished has prepared an intricate nail art. If you don't know Wondrously Polished blog then you're missing out! Lindsey does all sorts of amazing nail art and she is definitely a big inspiration. Here is her post ;)
***************************************
Hello, all! I am so excited to be doing this guest post for Lucy - she's one of my favorites and so talented! I feel very honored and I hope to share something that is up to her standards with you all today. Thanks, Lucy!!
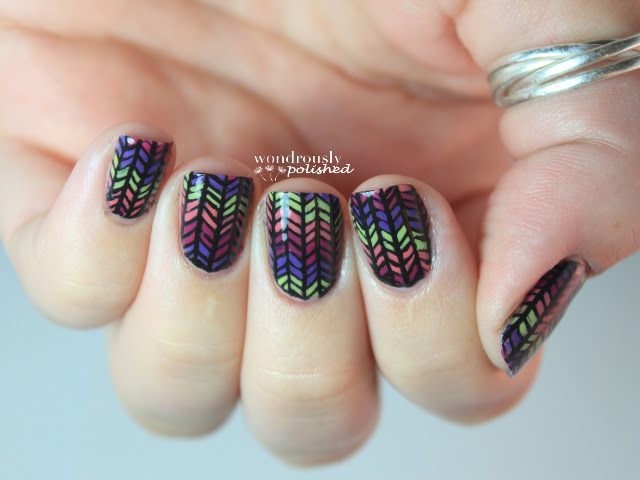
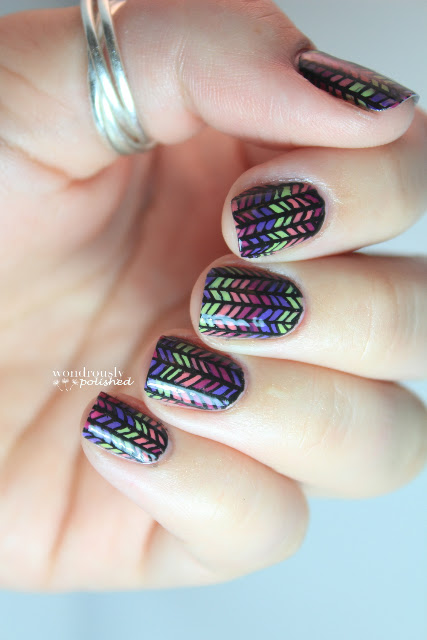
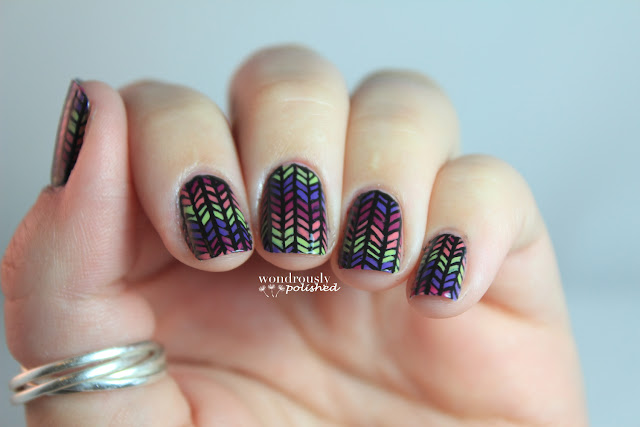
I spent a long while thinking about what to do for this post and I ended up with something that allowed me to combine my love of detail work and color. I'm not sure if there is a name for this type of pattern, but the closest description I've found for it is a "knit sweater" pattern. I've also seen it incorporated into tribal patterns and prints. Regardless of it's name, I'm very pleased with how it turned out!
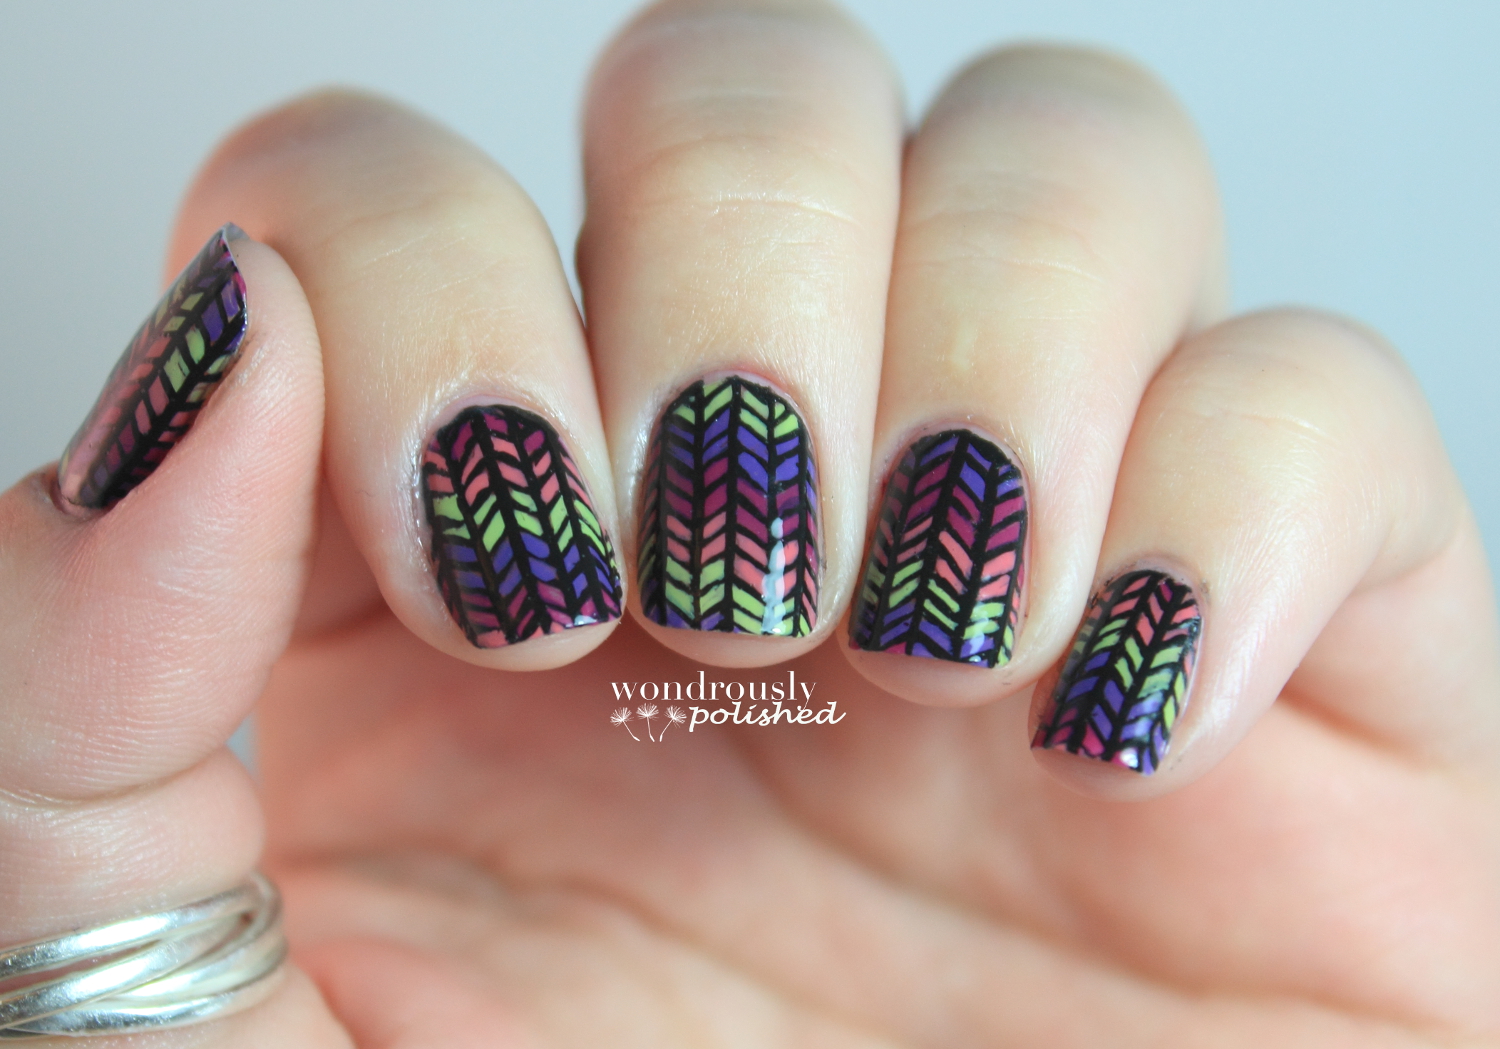
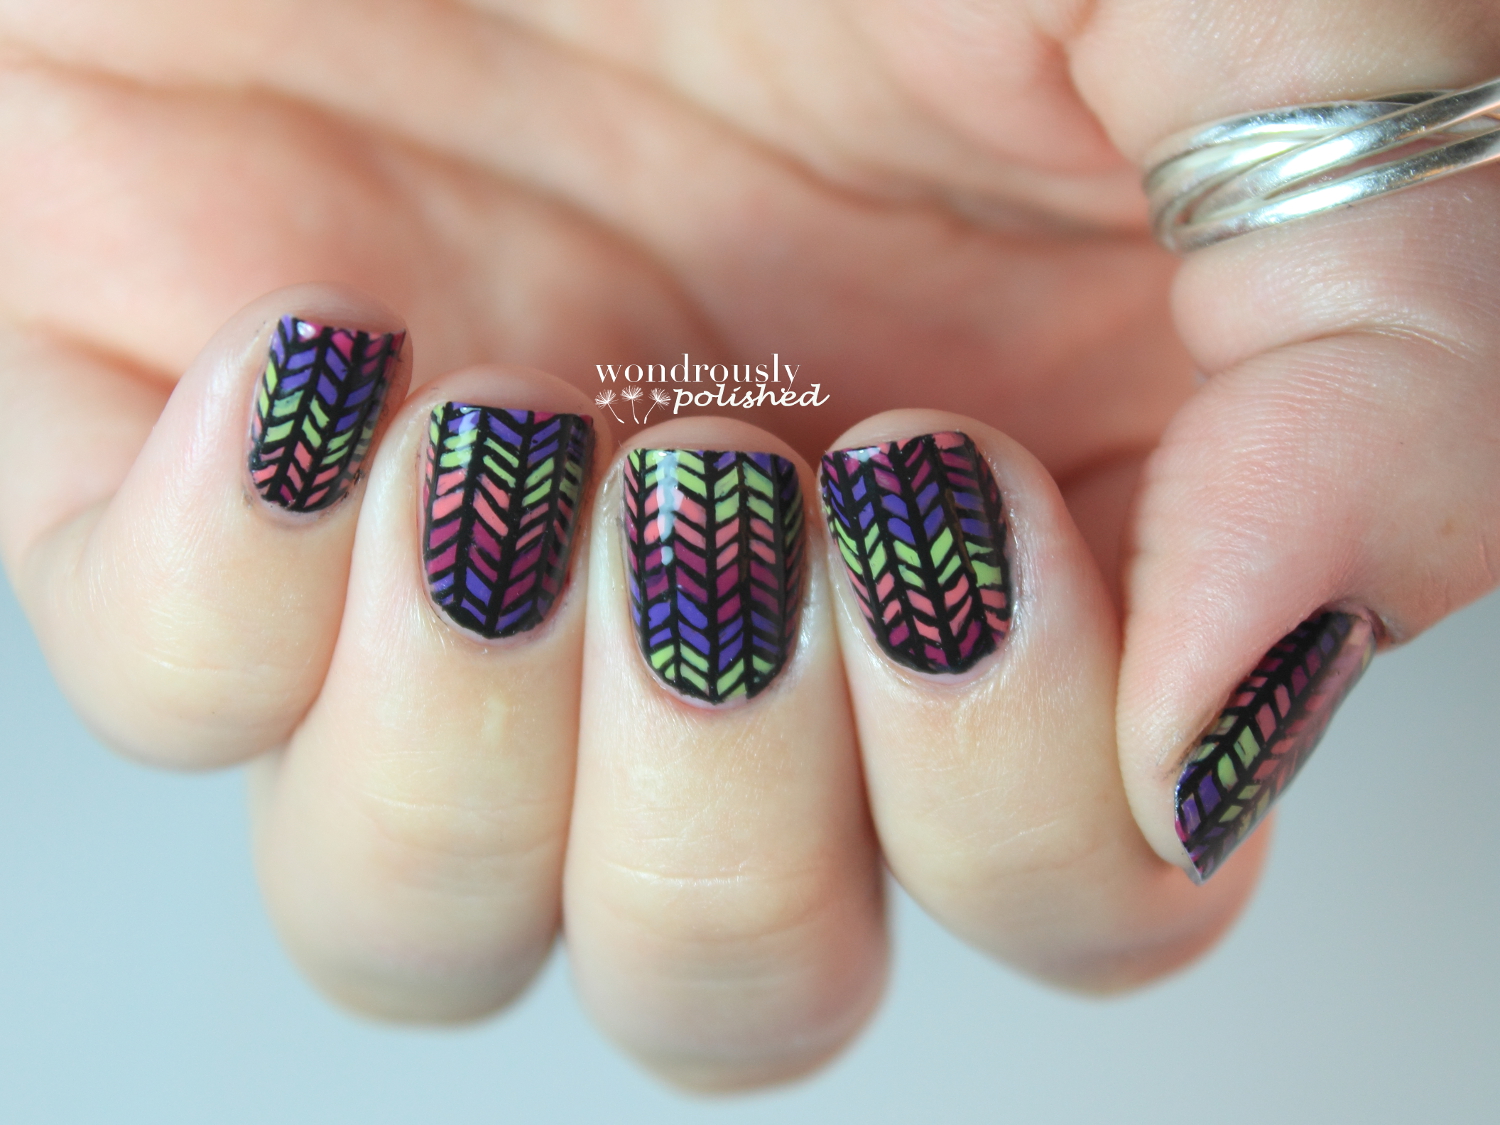
To create this look, I used a long striping brush and black acrylic paint to layout the black line work - I went crazy trying to get them as close to perfect as I could manage! I painted 5 vertical stripes evenly spaced across my nail and used the same striping brush to add in the "/" & "\" details between each line. Using a small detailing brush and Julep's Sylvia (purple), Francis (green), Veronica (salmon), and Nellie (magenta), I created a stair-step effect with the color to add a bit more interest to the design. If the black line work wasn't looking the way I wanted after this step, I went back over it with my striping brush and black acrylic paint until I was satisfied. While this looks complicated, it's not overly difficult to achieve if you have some patience and a steady hand!


Thanks for reading and happy polishing! xo, Lindsey from Wondrously Polished
*********************************************************
Awesome, right? Lindsey does so much more, just visit her blog and show her some love ;) You can also find Wondrously Polished on Facebook and Instagram.
Thank you Lindsey for the great nail art post!
/image%2F0703241%2F20201222%2Fob_7b3a98_semilac-my-love-gel-polish-nails-4.jpg) My Snowflake Nails for Christmas 2020 with Semilac...
My Snowflake Nails for Christmas 2020 with Semilac.../image%2F0703241%2F20200814%2Fob_22ce10_lart-supreme-kit-29-2.jpg) REVIEW: LART Supreme Mineral Powder Dipping System...
REVIEW: LART Supreme Mineral Powder Dipping System.../image%2F0703241%2F20170429%2Fob_799087_gilded-marbled-amethyst-nails-6.jpg) Dress your nails to impress with this marbled amethyst...
Dress your nails to impress with this marbled amethyst.../image%2F0703241%2F20170727%2Fob_3240b9_pink-gold-dry-brush-nail-art-4.jpg) The Manicure That (I) Rocked The Scratch Stars Awards...
The Manicure That (I) Rocked The Scratch Stars Awards...