Easter Bunny & Polka Dots Nails | Advanced TUTORIAL
Hello lovelies,
I've promised you two tutorials in the previous post and here's the second one! I have partnered up with
JustMyLook.co.uk to inspire you to do some cool Easter nail art :) This tutorial is little bit advanced but with a bit of practice I'm sure you can do it too!
Today's tutorial has been inspired by multiple Easter manicures that I kept seeing over the years like Polish Is The New Black and Paulina's Passions. I took different inspirations and put them together to create today's nails.
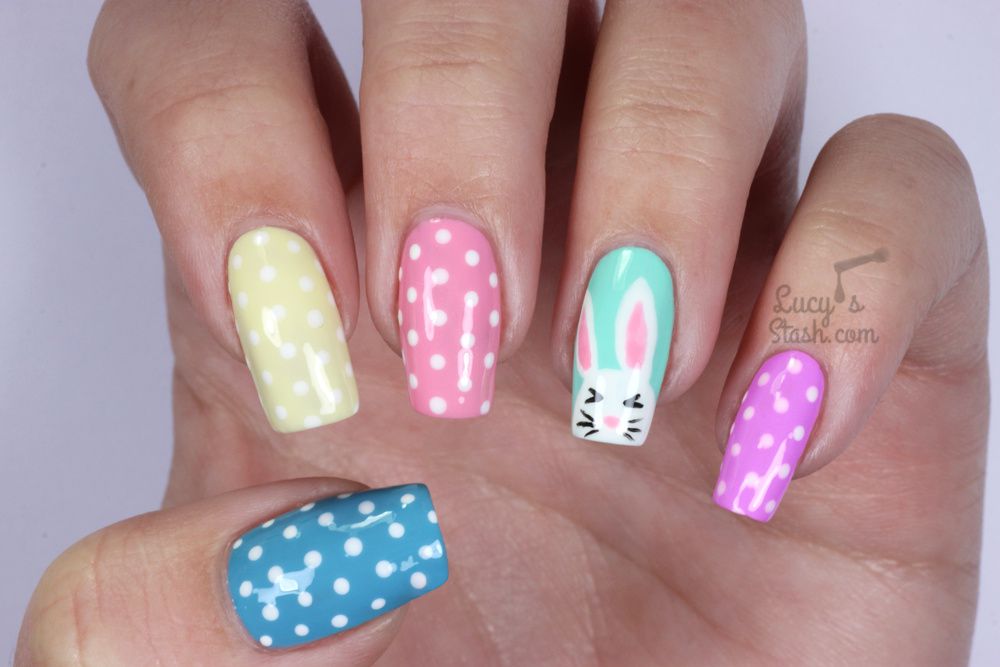
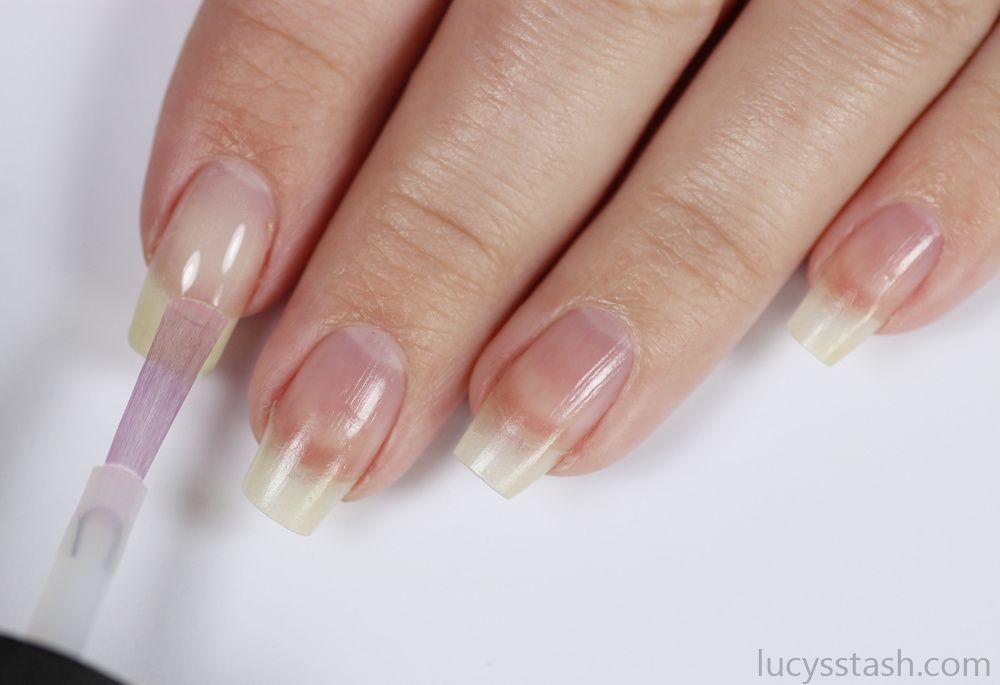
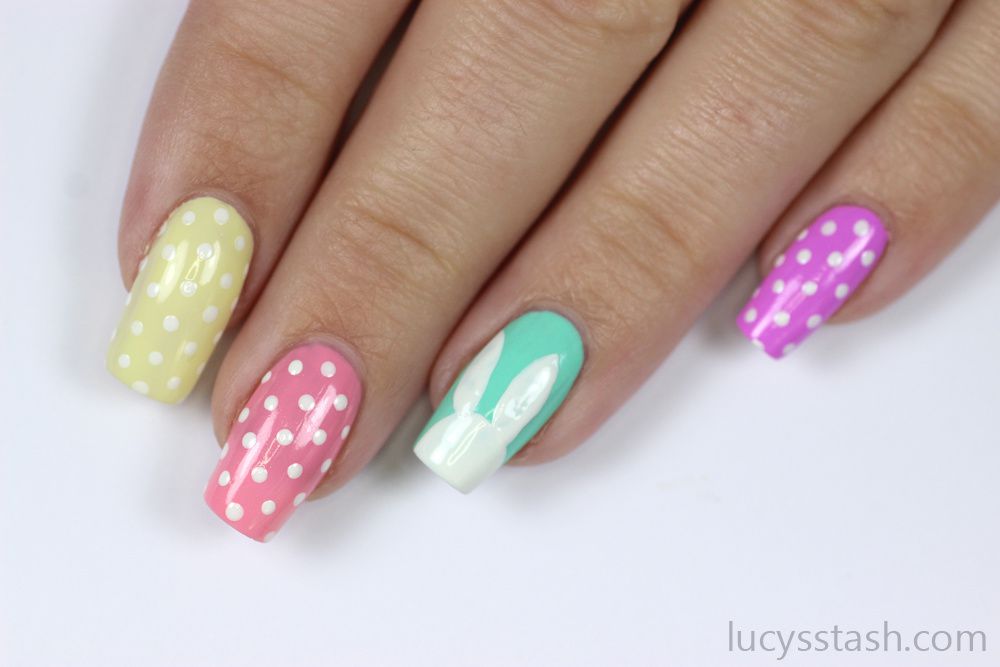
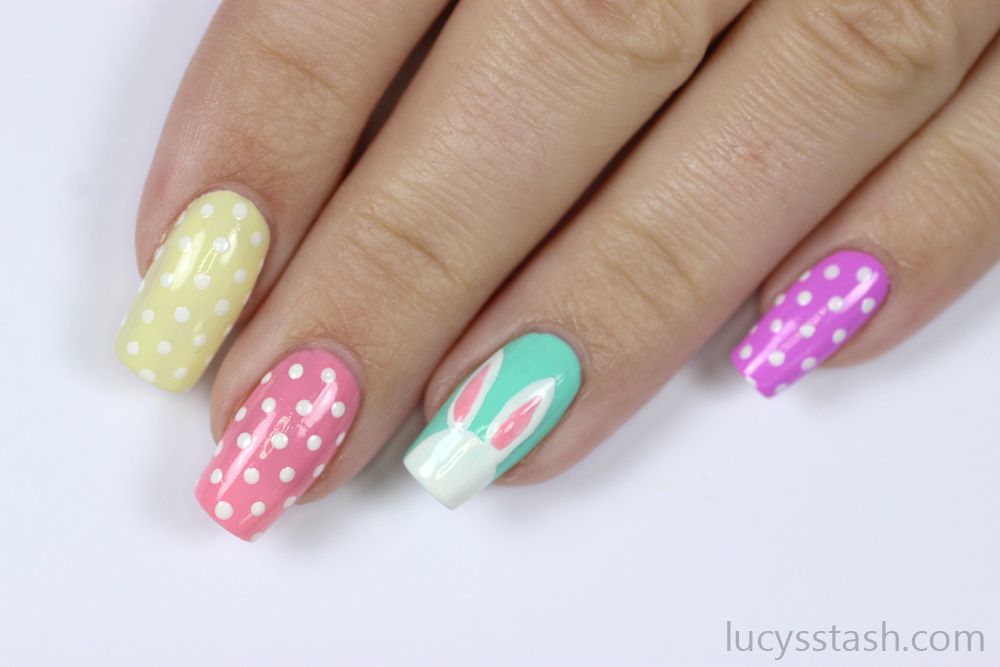
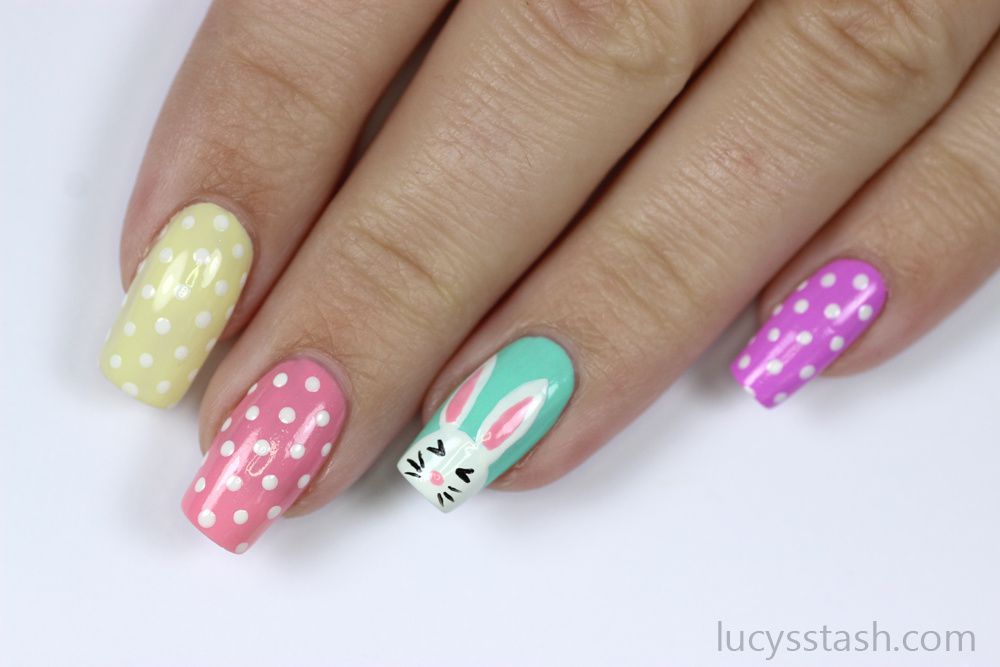
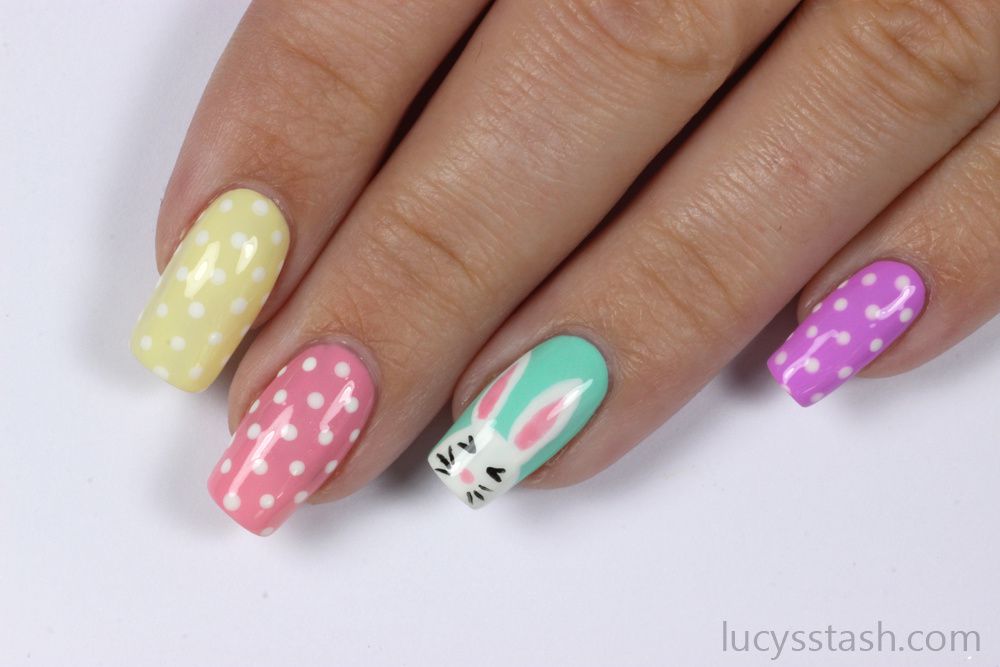
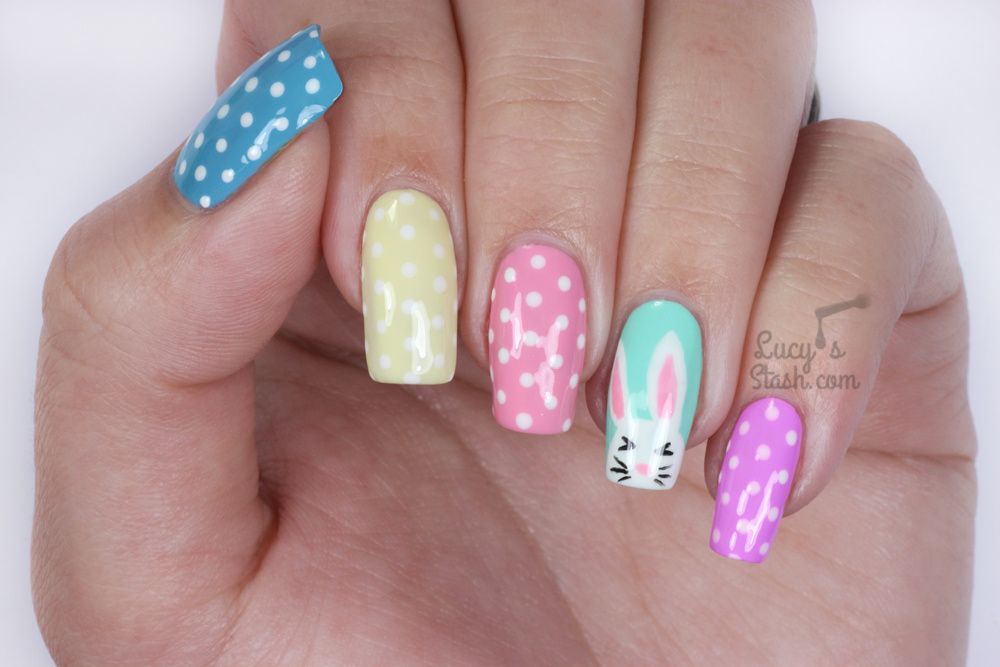
Here's the look and a step by step tutorial for you:
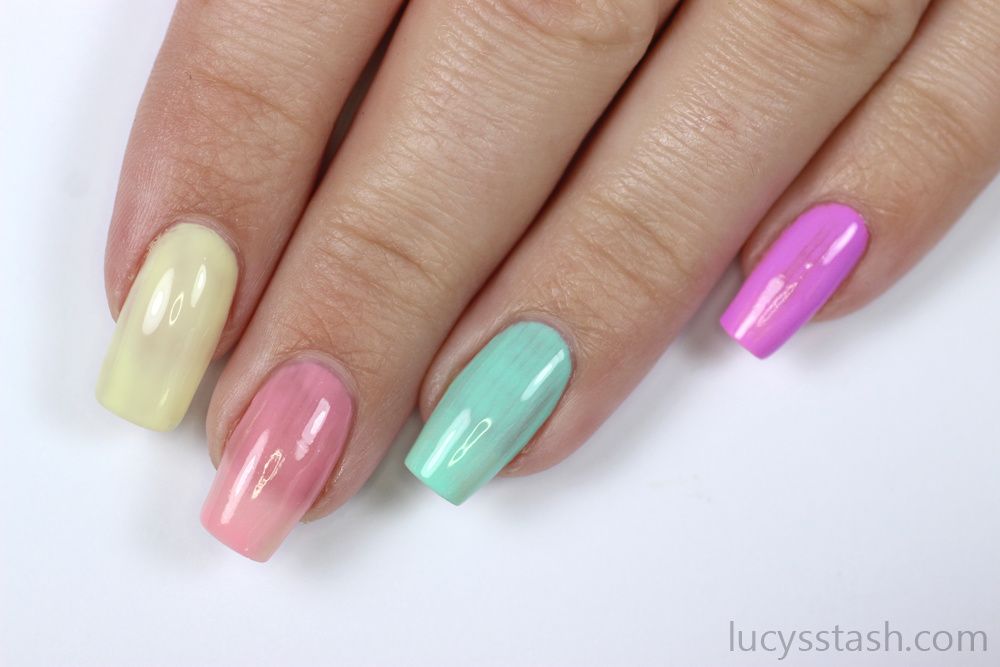
Step 2 – Apply first coat of nail polish, each nail in different pastel colour. I’ve usedthe following polishes:
- OPI Can’t Find My Czechbook
- Models Own Banana Split (alternative at JustMyLook.co.uk Nails Inc Seven Dials Gel Effect)
- OPI Pink-Ing Of You
- Models Own Mint Icing (alternative at JustMyLook.co.uk OPI Gargantuan Green Grape)
- Models Own Lilac Icing (alternative at JustMyLook.co.uk CND Vinylux Cake Pop).
Step 3 – Apply second coat of nail polish to each nail
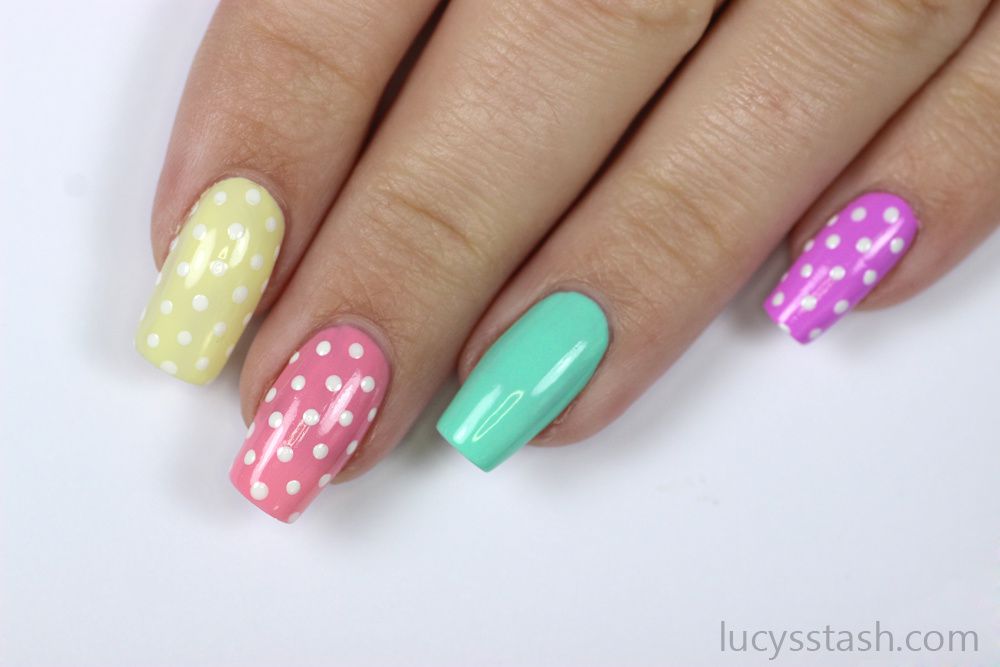
Step 4 – Add white polka dots to all nails except the ring finger. I’m using a small dotting tool and OPI Alpine Snow. If you don’t have a dotting to you can use bobby pin or a pin with round head stuck in a pencil.
Step 5 – It's time to paint the Easter bunny. Paint a half circle near the edge of the nail using the nail polish brush in the bottle or a smaller nail art brush. I’m using OPI Alpine Snow again.
Step 6 – Use a thin nail art brush and paint two ears with white polish
Step 8 – Draw two eyes with black nail polish and thin nail art brush. Alternatively paint two black dots as eyes instead if you prefer that look
Step 9 – Add a small pink dot as a nose with OPI Pink-Ing Of You and dotting tool
Step 10 – Paint whiskers with black nail polish and thin nail art brush
Step 11 – Seal the nails with a coat of topcoat. I’m using OPI Top Coat. It helps to have a nice little drop at the end of the brush and float it just above the nail so you don't smear your artwork.
/image%2F0703241%2F20140120%2Fob_b8b3b5_blog-header-new2.jpg)






/image%2F0703241%2F20201222%2Fob_7b3a98_semilac-my-love-gel-polish-nails-4.jpg) My Snowflake Nails for Christmas 2020 with Semilac...
My Snowflake Nails for Christmas 2020 with Semilac.../image%2F0703241%2F20200814%2Fob_22ce10_lart-supreme-kit-29-2.jpg) REVIEW: LART Supreme Mineral Powder Dipping System...
REVIEW: LART Supreme Mineral Powder Dipping System.../image%2F0703241%2F20170429%2Fob_799087_gilded-marbled-amethyst-nails-6.jpg) Dress your nails to impress with this marbled amethyst...
Dress your nails to impress with this marbled amethyst.../image%2F0703241%2F20170727%2Fob_3240b9_pink-gold-dry-brush-nail-art-4.jpg) The Manicure That (I) Rocked The Scratch Stars Awards...
The Manicure That (I) Rocked The Scratch Stars Awards...