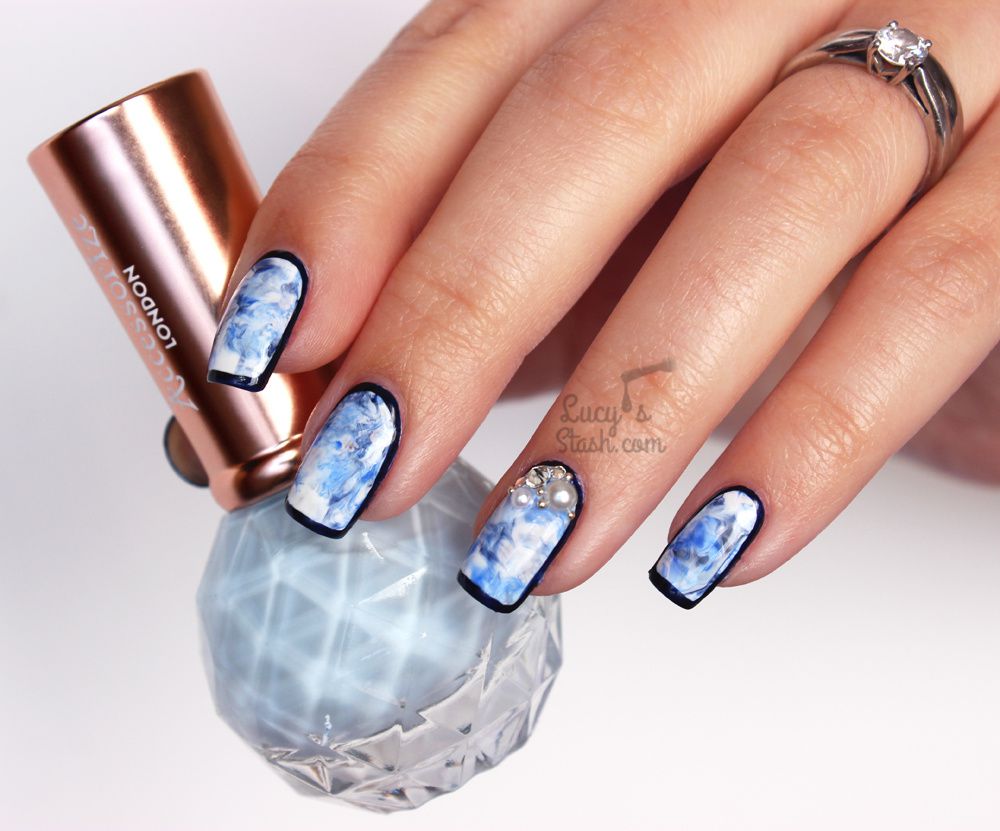
Marbled & Framed Nails & TUTORIAL feat. Accessorized Polishes
Hello lovelies,
I have a weekend treat for you in the form of new video tutorial for today's Marbled & Framed nails! I wore these nails to the Barry M event last month. People seemed to like it (or at least what they could see because it was very dark in there) and fellow blogger Amelia (xameliax) wanted a tutorial so here it is!
Let's have a look at the nail design I'll be creating first..
Don't be scared, I didn't change my nail shape completely! :D This is my right hand where I'm currently testing round/almond nail shape whilst still having square shape on my left hand (as you'll see). I've chosen to do this design specifically for the almond shaped nails but liked it so much that I've left it on and did it on my other hand for the event. So basically you get a unique chance to see the same design on two nail shapes ;)
For this look I have been testing the new range of Accessorize polishes and their top coat. There are 39 new colours in total (incl. top coat and matte top coat) and they range from pastels and brights to glitters and metallics. You can see all colours here in my post.
I have used:
Accessorize Deep Sea (dark blue shimmer)
Embellishments (pearls adn crystals) from Born Pretty Store (use LUHH10 for $10 off)
And here's how you can achieve this look:
If you recreate this manicure then please tag me @lucysstash and/or #lucysstash so I can check it out! I love seeing your recreations :)
Accessorize polishes are available at most Acessorize and Monsoon stores and online at uk.accessorize.com - Currently 3 for 2 offer!
Have a lovely day! Lucie x
*Polishes sent for feature
/image%2F0703241%2F20140120%2Fob_b8b3b5_blog-header-new2.jpg)


/image%2F0703241%2F20201222%2Fob_7b3a98_semilac-my-love-gel-polish-nails-4.jpg) My Snowflake Nails for Christmas 2020 with Semilac...
My Snowflake Nails for Christmas 2020 with Semilac.../image%2F0703241%2F20200814%2Fob_22ce10_lart-supreme-kit-29-2.jpg) REVIEW: LART Supreme Mineral Powder Dipping System...
REVIEW: LART Supreme Mineral Powder Dipping System.../image%2F0703241%2F20170429%2Fob_799087_gilded-marbled-amethyst-nails-6.jpg) Dress your nails to impress with this marbled amethyst...
Dress your nails to impress with this marbled amethyst.../image%2F0703241%2F20170727%2Fob_3240b9_pink-gold-dry-brush-nail-art-4.jpg) The Manicure That (I) Rocked The Scratch Stars Awards...
The Manicure That (I) Rocked The Scratch Stars Awards...