*PR sample
Hello lovelies,
I am so seriously late with this review but I hope you'll forgive me and still have a look at my swatches :) So this post will be about the Zoya Wishes collection, the last collection of 2014. It consist of six new colours - three Magical PixieDust and three shimmery and creme shades.
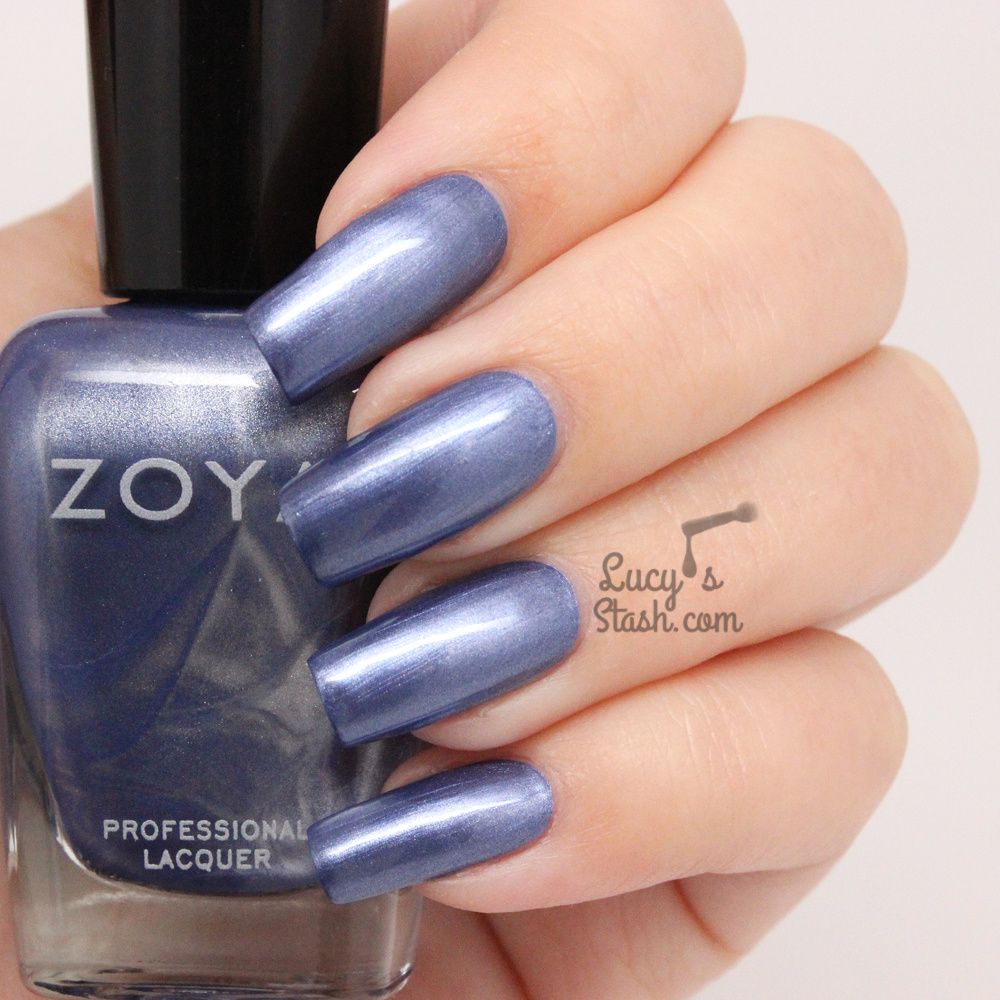
Prim - periwinkle blue shimmer. Prim will certainly catch everyone's eye. This elegant periwinkle shade is quite unusual, at least I don't own many. Prim applied very nicely and was opaque in two thin coats, excellent pigmentation. It has very fine shimmer which is pretty but it also causes streaking so I needed to watch my brush strokes. I've applied topcoat as well.
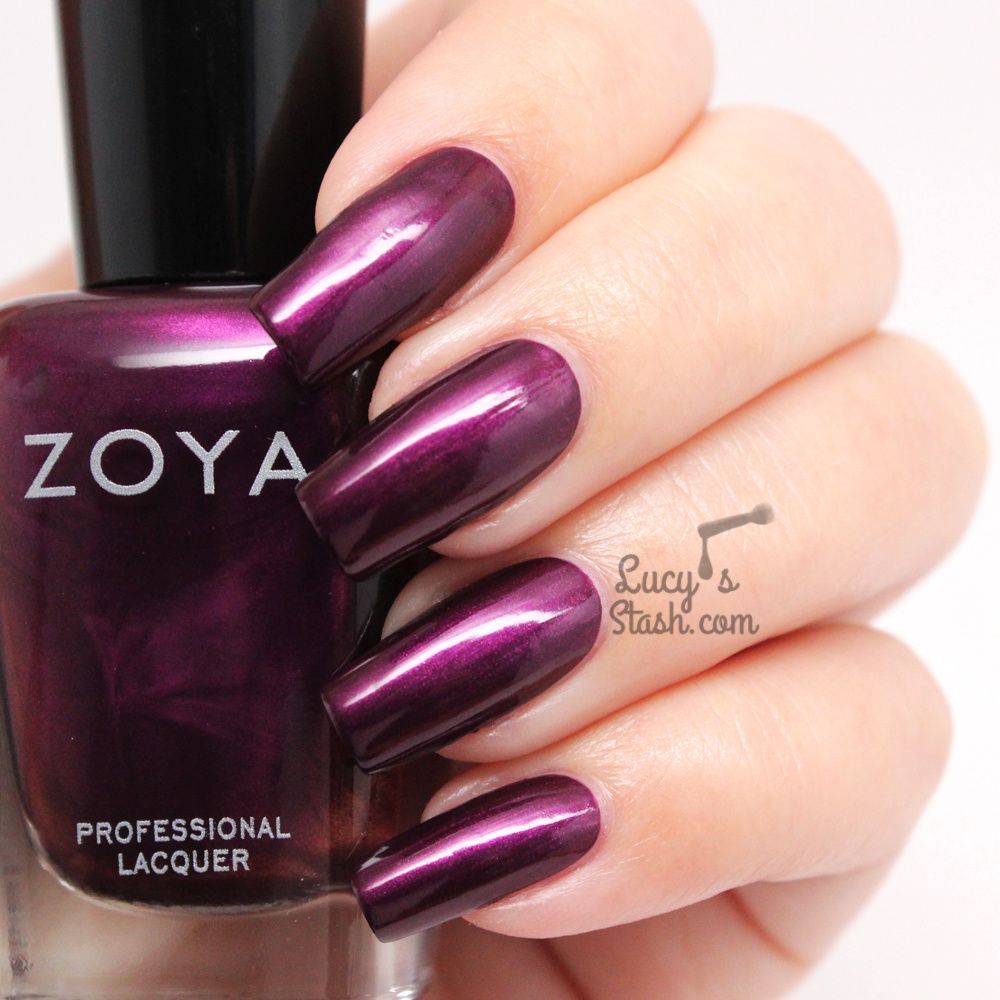
Haven - rich plum purple with magenta undertones and subtle shimmer. Haven is absolutely stunning! It had a lovely formula that applied well and was opaque in two coats. It dried fast and glossy so I'm not wearing topcoat. It was little bit streaky but less than Prim.
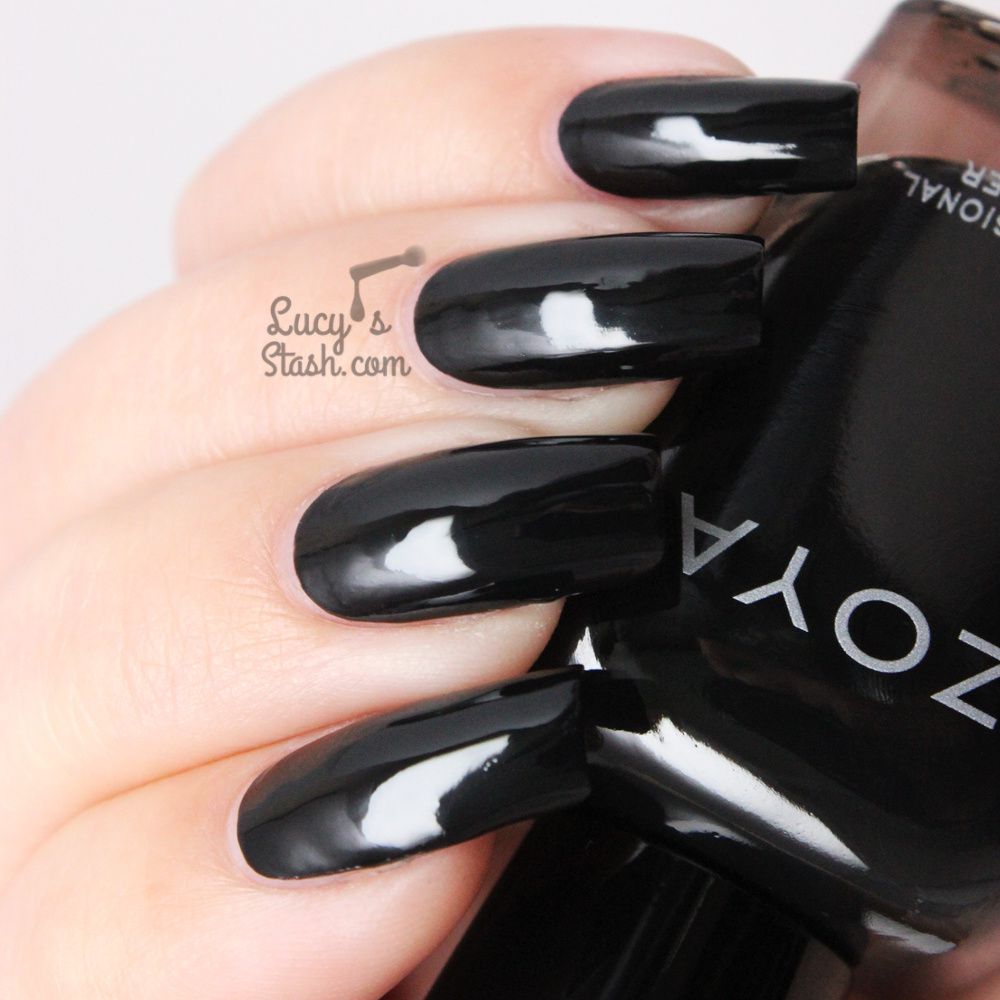
Willa - muted black creme. Willa is not exactly proper darkest black, it's a tiny bit lighter. Black is classic but I personally prefer black polishes that are well-pigmented. Willa seemed a little watery to me and I needed two thicker coats for good coverage. It applied easily and dried fast and glossy. I'm not wearing topcoat in the pictures.
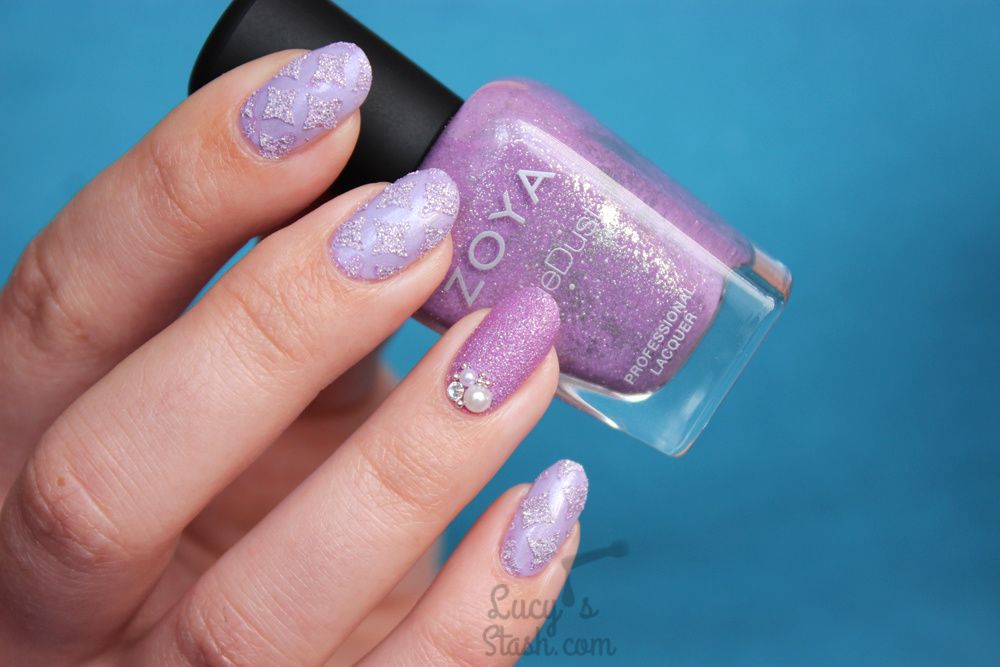
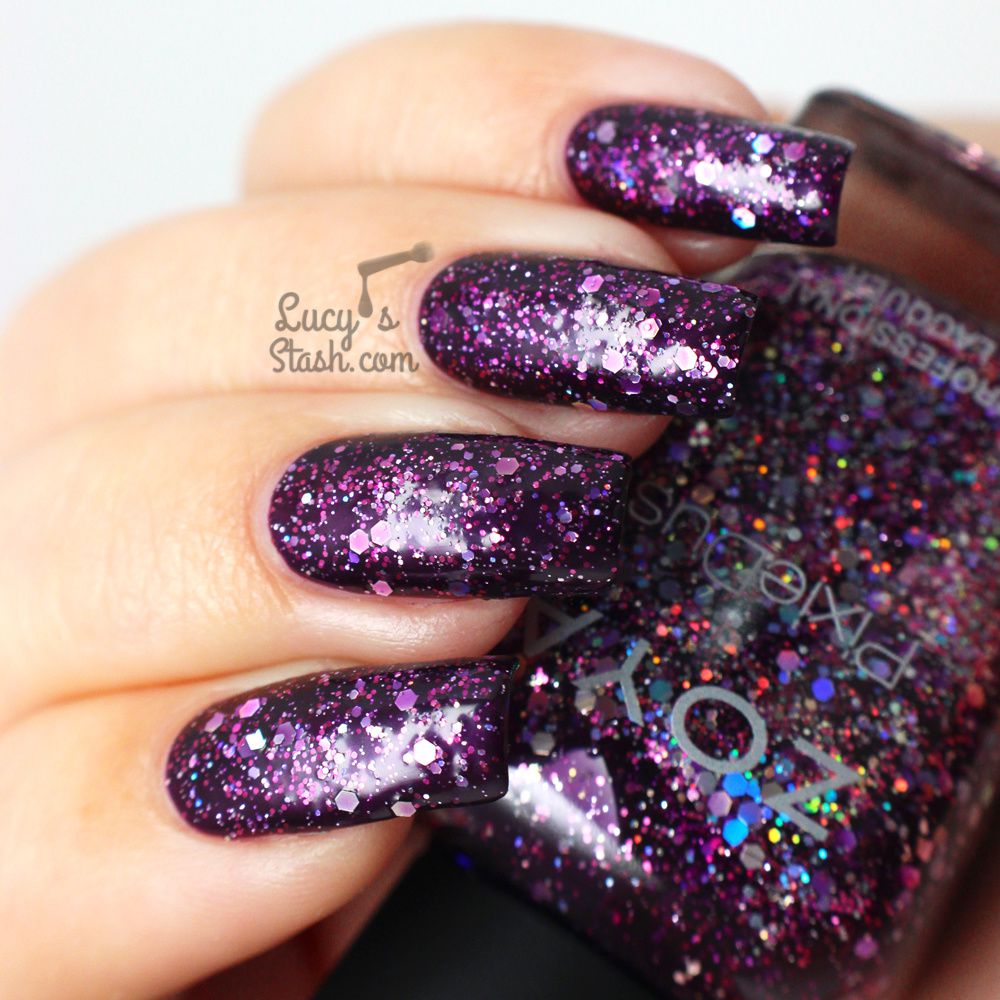
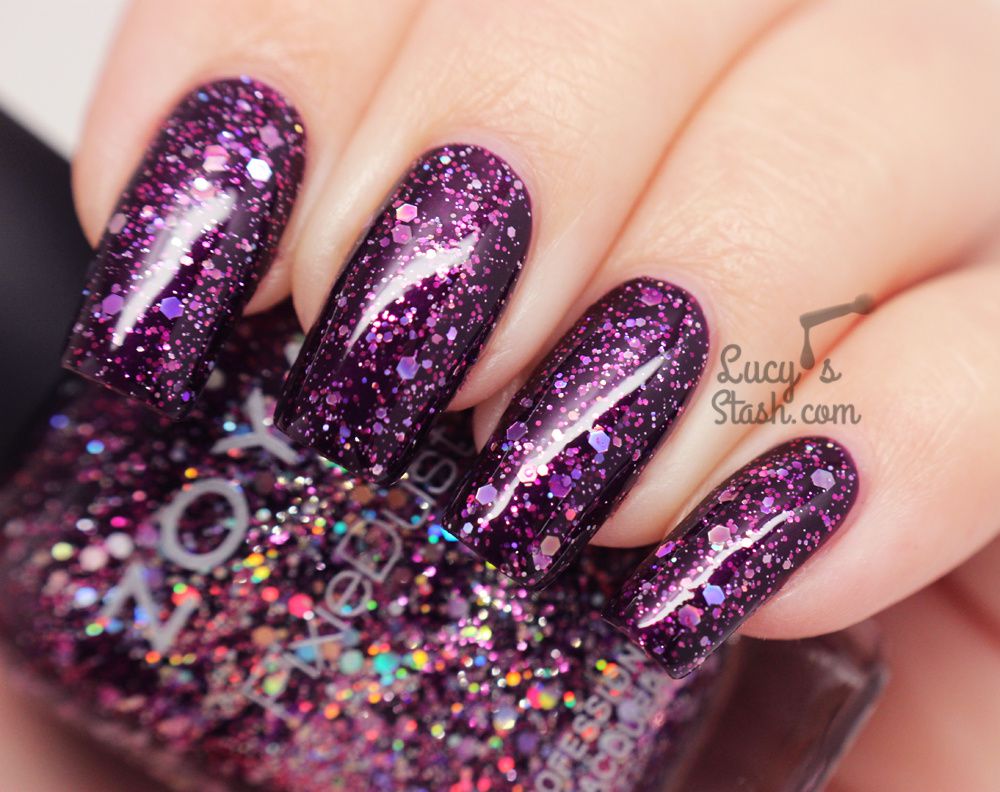
Thea - blue-based purple glitter. Thea has the Magical PixieDust formula which has rough glittery texture. I've applied one coat of Thea over Haven. It didn't create as textured finish as it would with two coats but I didn't mind tha because I prefer Thea with topcoat - then it really comes alive! The last photo is with topcoat and for me it made massive difference. it beautifully shows the colour, the sparkly glitter and holo effect.
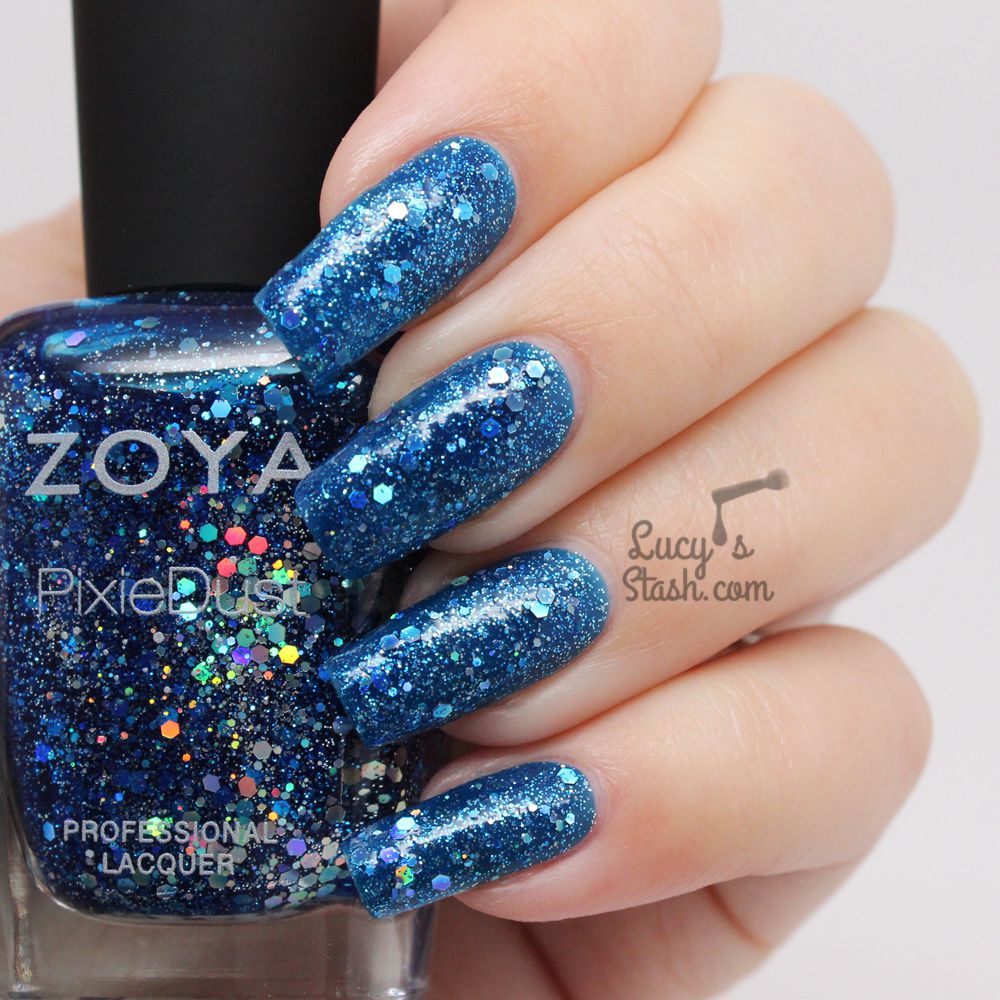
Nori - blue glitter with Magical PixieDust formula. Nori is the second textured polish from this collection. It's a bit sheerer so I've applied two thick coats but you might want to do three for deeper colour. It applied well and dried quite fast.
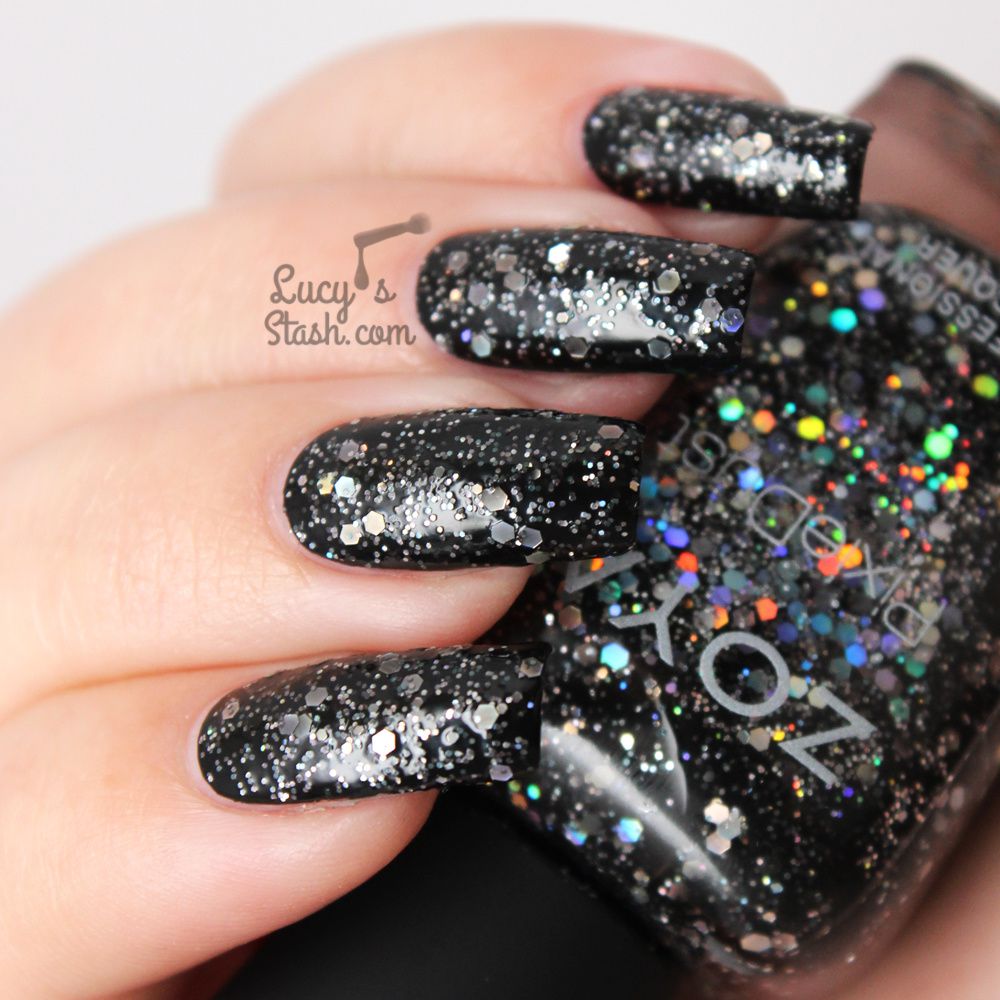
Imogen - black base full of holographic silver glitter. Imogen also has the Magical PixieDust formula and textured finish. I've applied one coat over Willa and then the last pictures shows it with topcoat. It applied well and dried fast.
So that's all of them! I think this collection came out nicely and I like the mixture of finishes. I am not a fan of Magical PixieDust texture but it looks stunning with topocat. My top picks are Prim, Thea and Imogen but with topcoat on ;)
Zoya polishes are available from Zoya.com for $9 USD each, or at The Nail & Beauty Link (UK) and at Nail Polish Direct (UK) and your usual outlets.
Have a lovely day! Lucie x
*PR sample
/image%2F0703241%2F20140120%2Fob_b8b3b5_blog-header-new2.jpg "nail art - reviews - swatches - nail tutorials")


/image%2F0703241%2F20201222%2Fob_7b3a98_semilac-my-love-gel-polish-nails-4.jpg) My Snowflake Nails for Christmas 2020 with Semilac...
My Snowflake Nails for Christmas 2020 with Semilac.../image%2F0703241%2F20200814%2Fob_22ce10_lart-supreme-kit-29-2.jpg) REVIEW: LART Supreme Mineral Powder Dipping System...
REVIEW: LART Supreme Mineral Powder Dipping System.../image%2F0703241%2F20170429%2Fob_799087_gilded-marbled-amethyst-nails-6.jpg) Dress your nails to impress with this marbled amethyst...
Dress your nails to impress with this marbled amethyst.../image%2F0703241%2F20170727%2Fob_3240b9_pink-gold-dry-brush-nail-art-4.jpg) The Manicure That (I) Rocked The Scratch Stars Awards...
The Manicure That (I) Rocked The Scratch Stars Awards...


/image%2F0703241%2F20161015%2Fob_c6253a_glow-in-the-dark-halloween-pumkin-face.jpg) Halloween Glow-in-the-dark Pumpkin Face Nail Art +...
Halloween Glow-in-the-dark Pumpkin Face Nail Art +.../image%2F0703241%2F20160913%2Fob_a0f8a6_british-nail-art-over-dance-legend-gre.jpg) 10 Old Nail Art Manicures That Never Made It To The...
10 Old Nail Art Manicures That Never Made It To The.../image%2F0703241%2F20160630%2Fob_19bb20_fawn-print-nails-bambi-nail-art-2.jpg) Paint All The Nails Presents Animal Print - Fawn Print...
Paint All The Nails Presents Animal Print - Fawn Print.../image%2F0703241%2F20160425%2Fob_542275_spiral-artwork-inspired-nail-art-2.jpg) ABC Challenge: A is for Abstract | Nail Art Challenge
ABC Challenge: A is for Abstract | Nail Art Challenge